

How to Make “Good” Collages with Paper Magazines
How do I make a good collage with paper magazines?
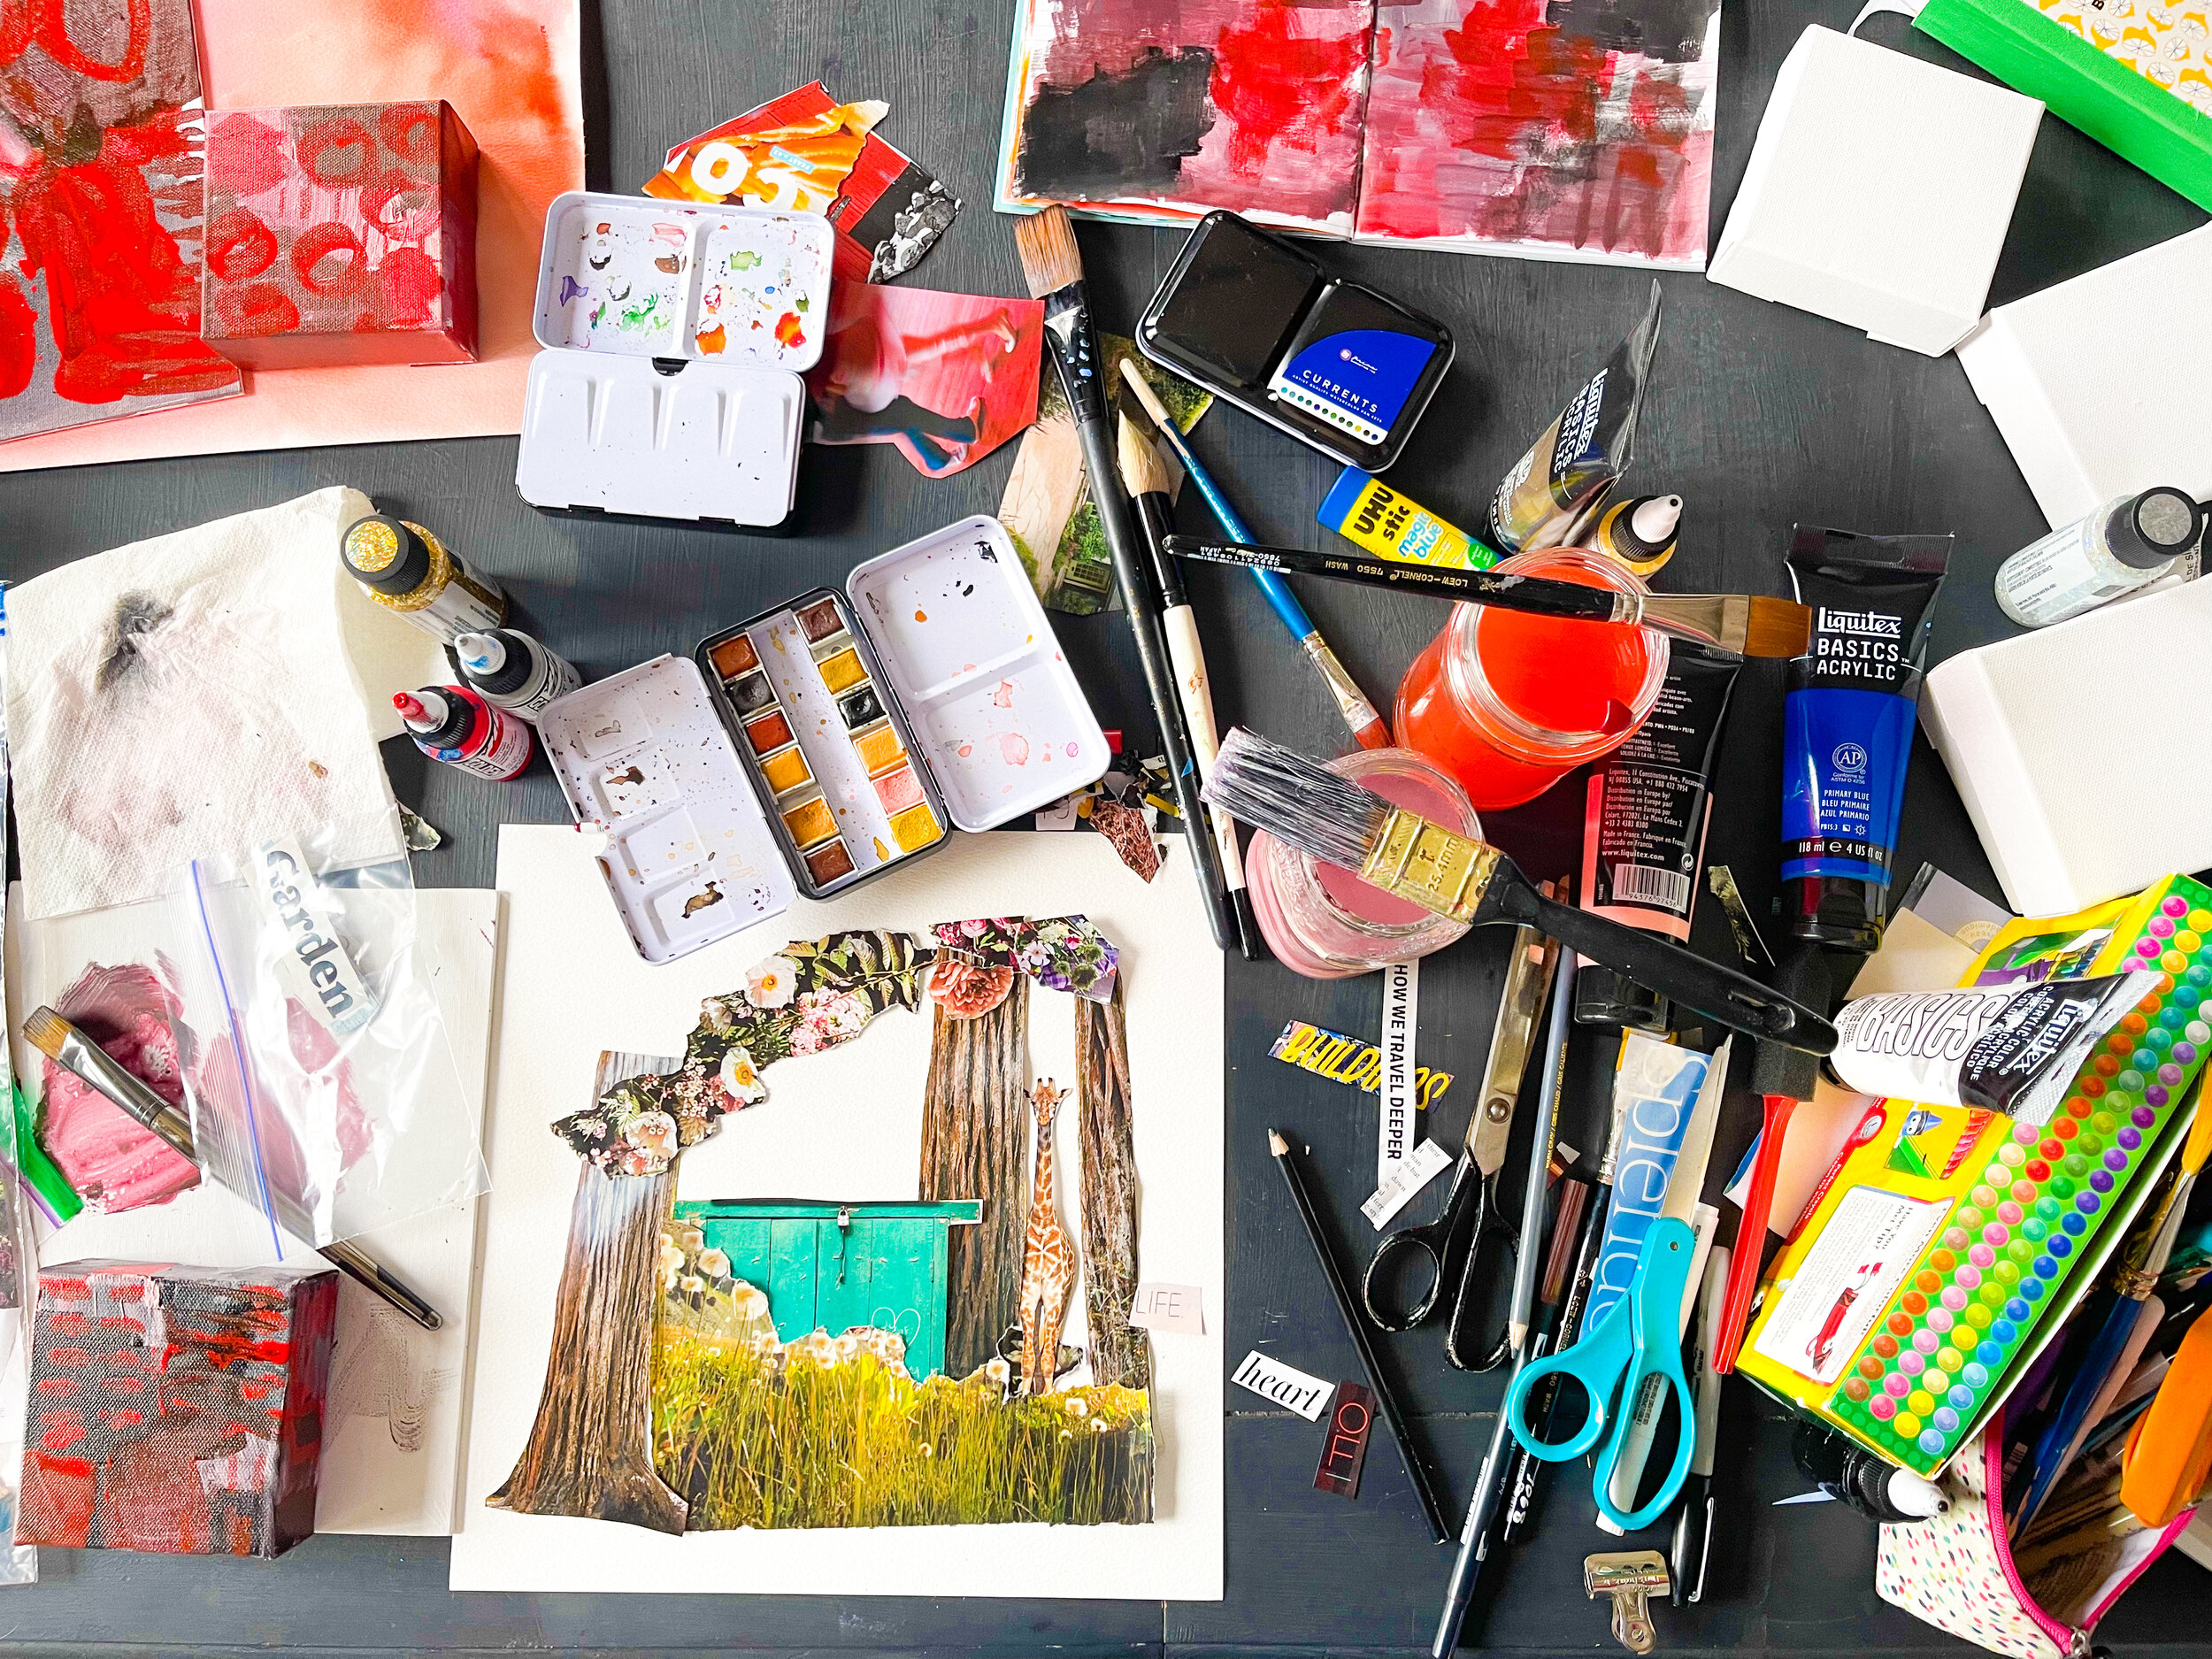
As a professional mixed-media artist, I’ve tried countless different techniques when it comes to making collages! From messy wet glue and trimming everything with scissors to using an Exacto knife and fancy art gel mediums, today, I’m going to share five great tips for making a “good” paper collage.
Some links in this post are affiliate links. If you click through and take action, I'll be compensated. Click here for my full disclaimer.
Updated 11/18/2022
Here are five things you should keep in mind when you are making collages:
Use the right tools to get better collages every time.
You’ve got to use the right materials if you are going to end up with a final product that you love and will last a lifetime for you to enjoy! That doesn’t mean that you have to spend a lot of money getting the right tools, however. I will always be an advocate for accessibility and also for the environment--so you don’t have to get fancy with what you’re using to make your artwork. Remember, using the RIGHT materials doesn’t always mean spending the most cash on them.
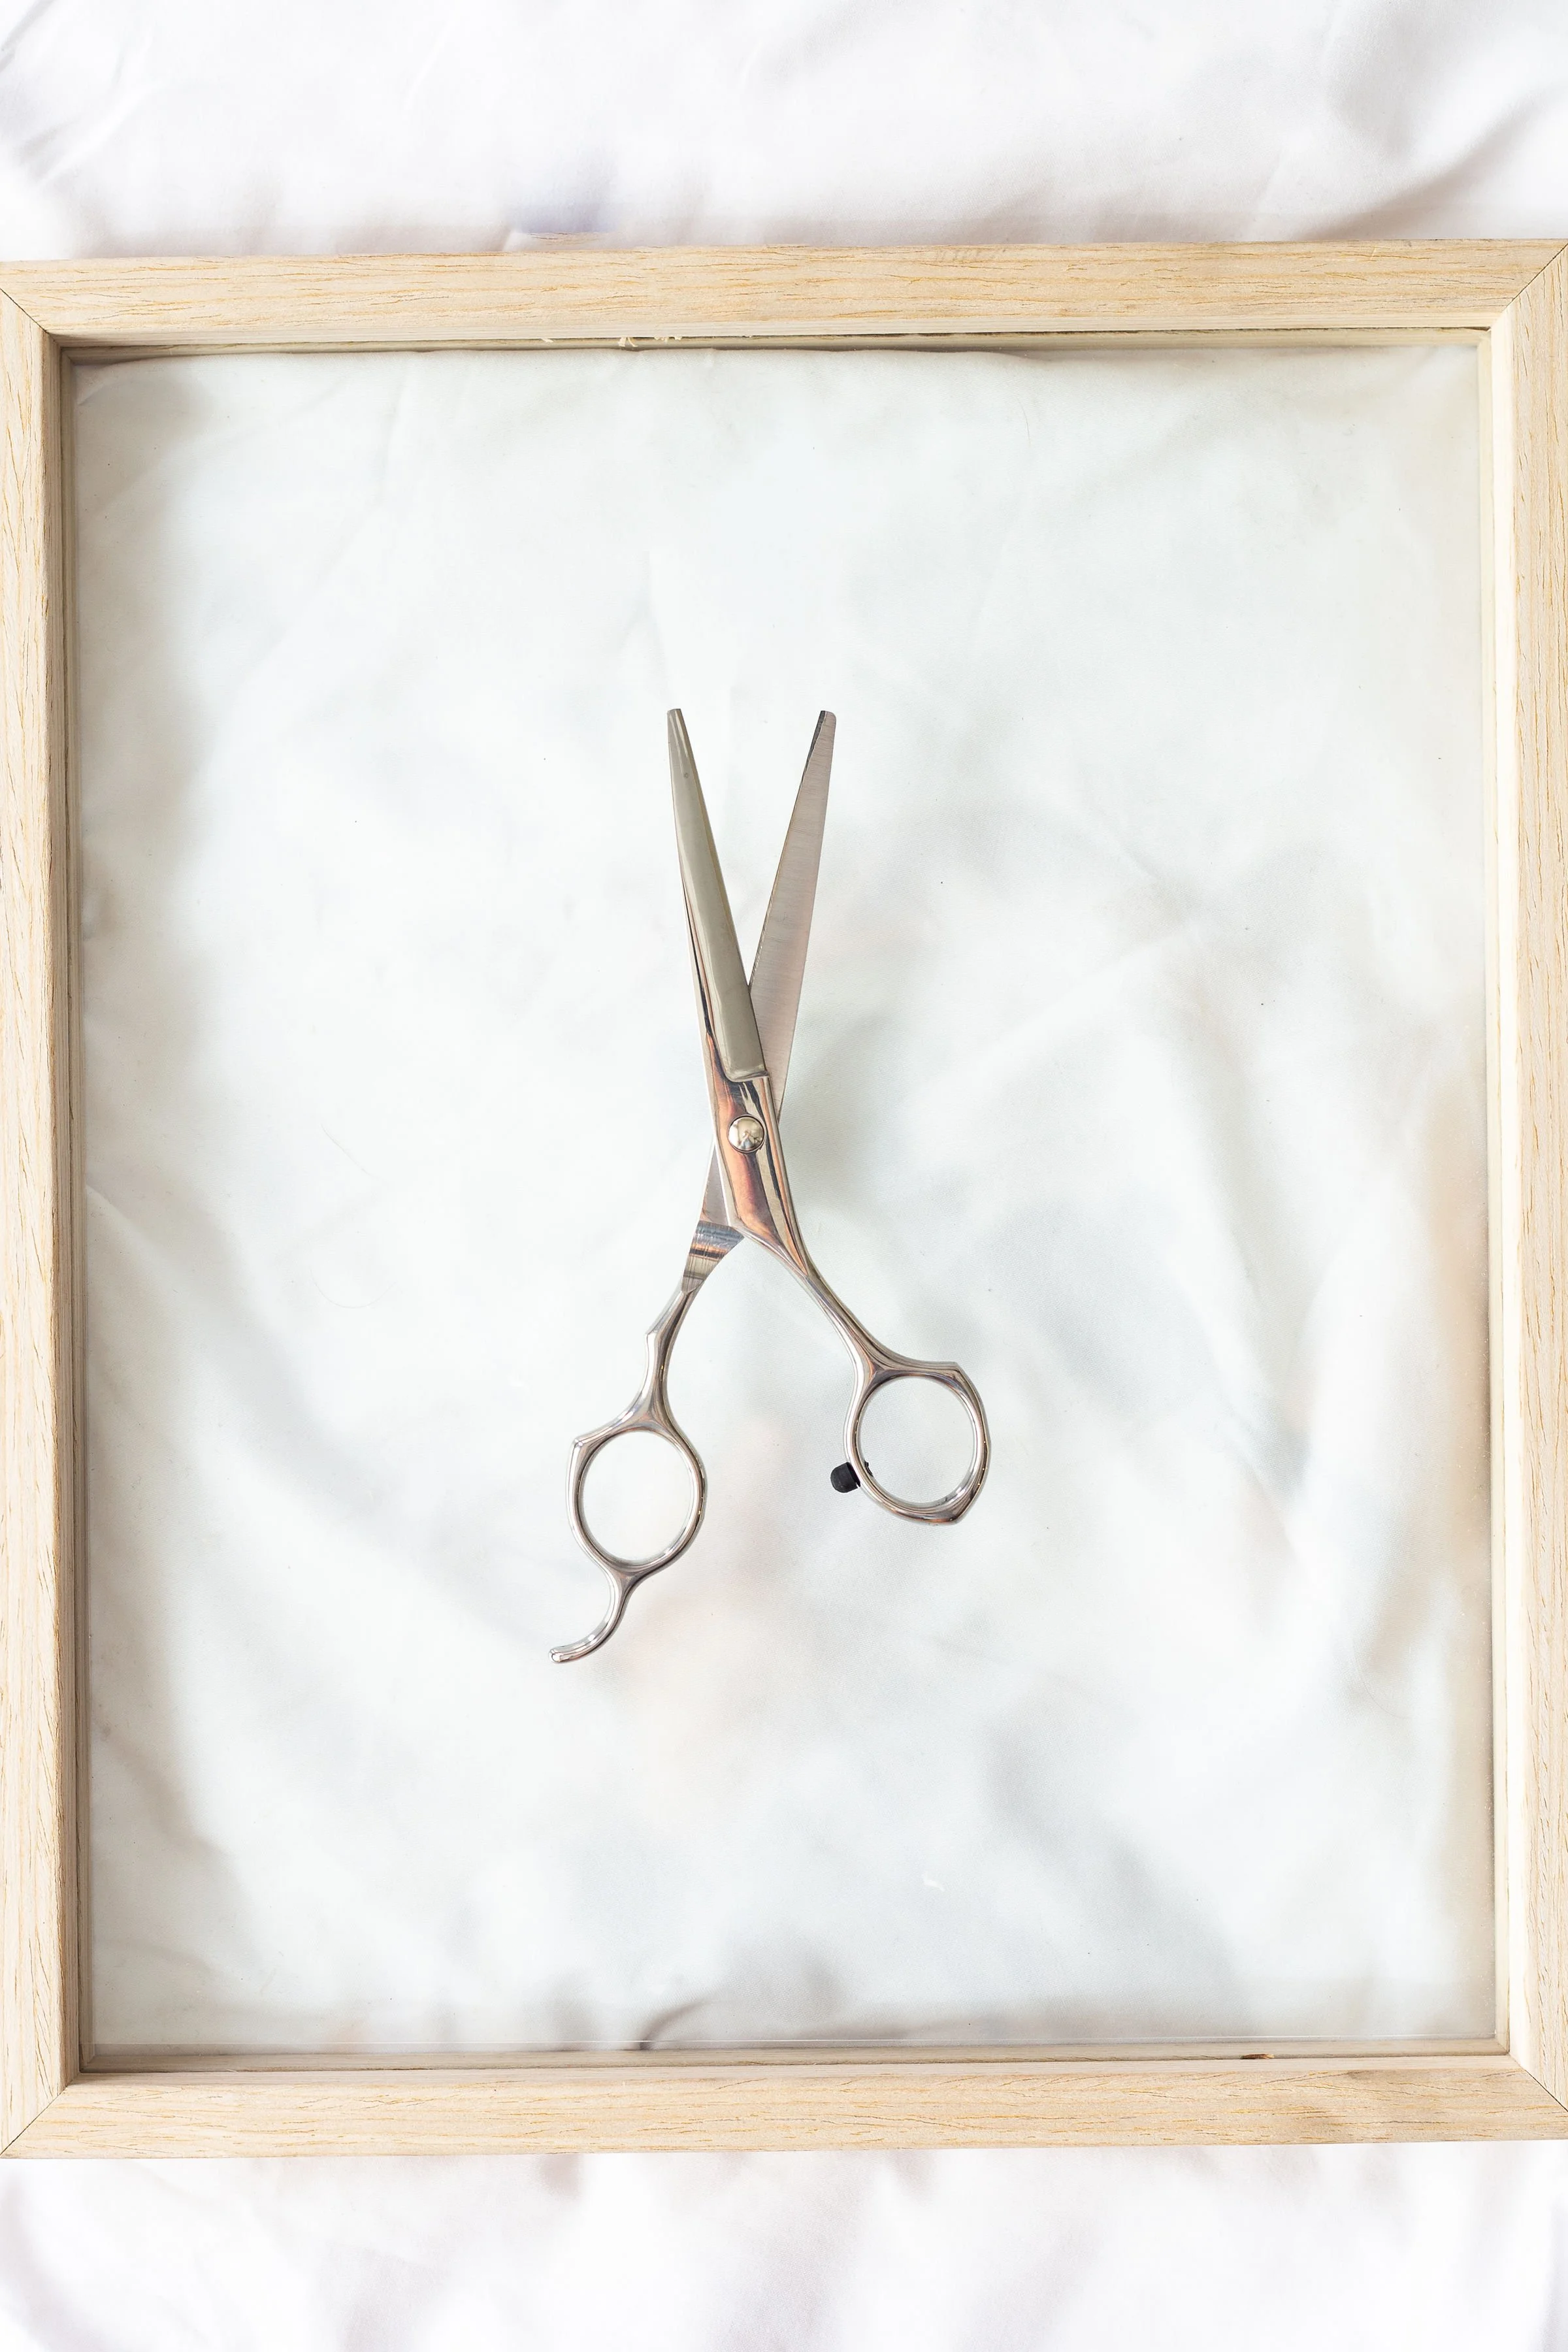
If you’re looking to splurge or to just spend money on ONE part of your collage, I’d recommend purchasing a large pad of sturdy watercolor paper first and getting one pair of REALLY nice, sharp scissors second.
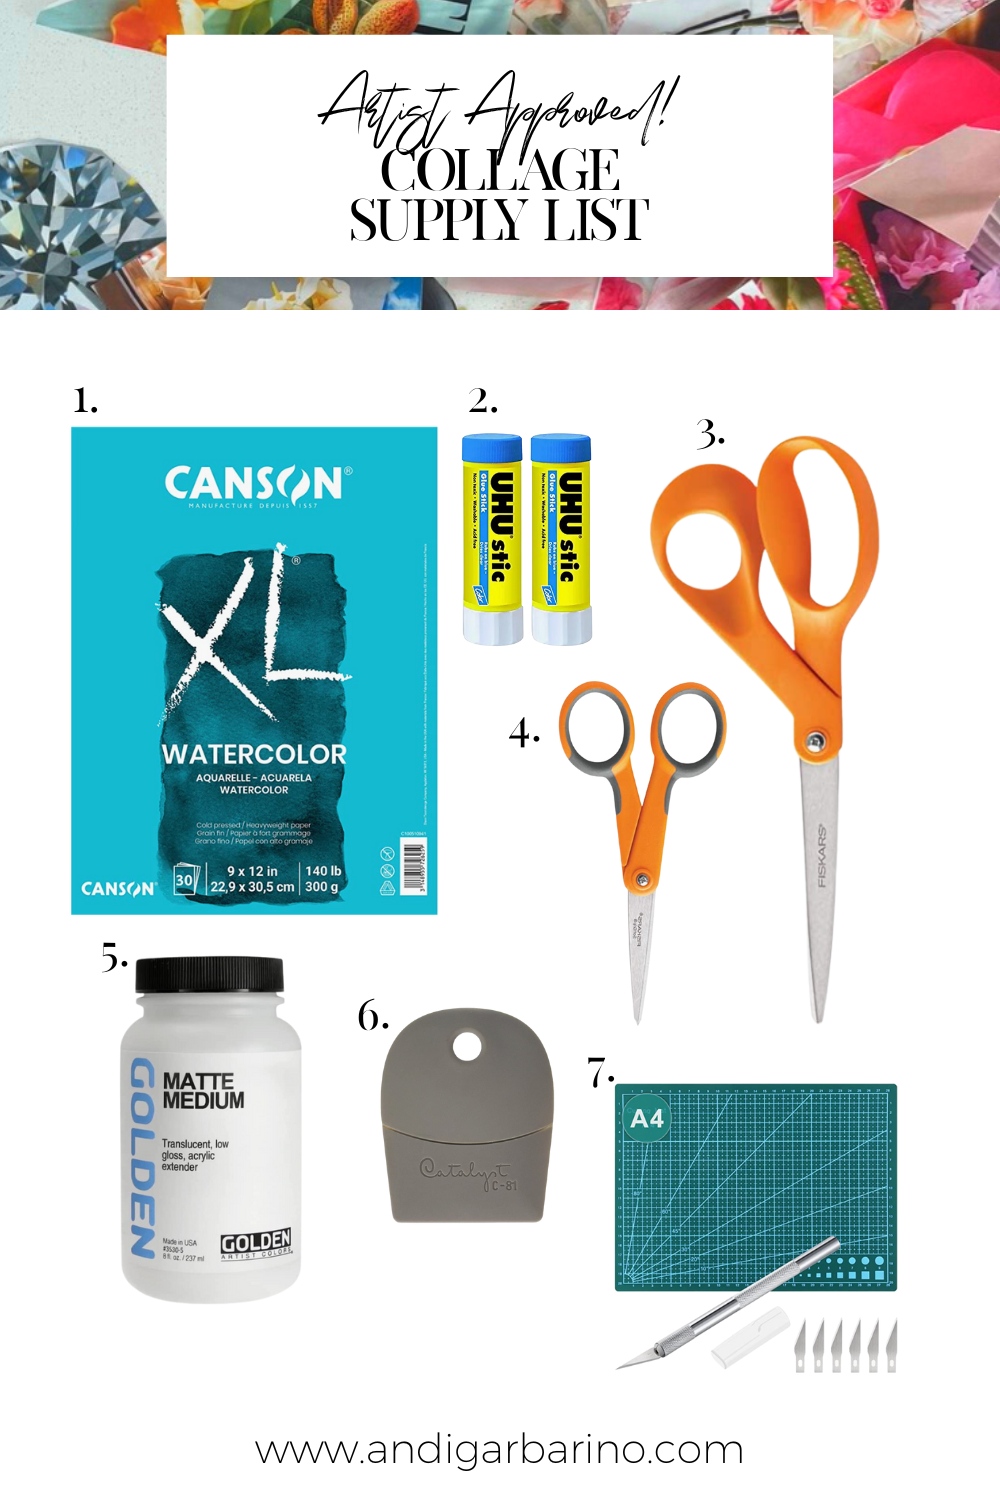
Here is my recommended supplies list for making a gorgeous collage:
Watercolor paper--it’s sturdy enough to handle the weight of all the magazine clippings and paper you’re going to heap on there, and it also has a wonderful texture for any white spaces that you might leave. I like to use 11X15 inches, as it gives me a HUGE background to work on. You can always trim it down if you’d like to create a smaller collage or leave extra space around the outside if you’d like it to fit in a traditional size frame.
Glue--repeat after me, “I will always, always, always use a glue stick when creating a magazine collage. I will never, ever, ever, use a bottle of liquid school glue when making a magazine paper collage.” Got it? Okay, good. Here’s the scoop, when you use a big ol’ bottle of white Elmers school glue on thin magazine paper, the papers bubble up, curl up and add a whole lot of texture you were NOT asking for. Feel free to try it out on some magazine pages that you’re not interested in making a part of your artwork and see if you like it--if you do, go for it, just keep in mind that the kind of glue you use can have an effect on the paper over time. It’s best to use “archival quality” glue no matter what so that your artwork won’t yellow or fade. My go-to glue is the blue UHU gluesticks--they’re acid-free, and the blue shows you that you’ve added the adhesive everywhere you want it, then turns clear as it dries.
Cutting tools--note I didn’t say scissors! Though a good pair of scissors will get you far, I recommend rustling up several different kinds of cutting tools. My favorite thing to cut within my collage work is actually a vintage pair of Fiskars that were my grandmas...one of the sides is completely broken off, and they are rusty and dull, but the texture I get from them is so yummy! Experiment with whatever you have around the house to cut your papers. My collection of cutting tools includes that vintage pair of scissors, a very sharp set of micro-tip scissors and a cutting knife with a mat.
A variety of magazines, picture books, calendars, wallpapers, etc. so you have plenty of images to choose from. DO be kind to the environment by asking your friends and neighbors if they have any before heading out to purchase some just to cut up. AND If you do decide you need to go shopping for some material, I recommend heading to Half-Price Books, because they’ve got a great section of magazines in the back. Also, if collaging is something you plan on making a part of your creative practice, I recommend subscribing to magazines that you enjoy reading and hang on to them as the year goes on.
To seal my collages, I use a matte medium. BUT! Keep in mind it only takes a small amount of the medium to do the job. This is definitely an advanced move, so maybe don’t do this on your first collage ever.
A smoothing tool! I use a catalyst contour tool to smooth out all the bumps. Pro tip: lay a sheet of parchment paper over your completed collage, then use the contour tool to smooth everything out! This makes it all look so sharp and takes out the bumpiness factor.
So, for a quick-glance checklist here you go:
-Glue
-Magazines/Picture Books
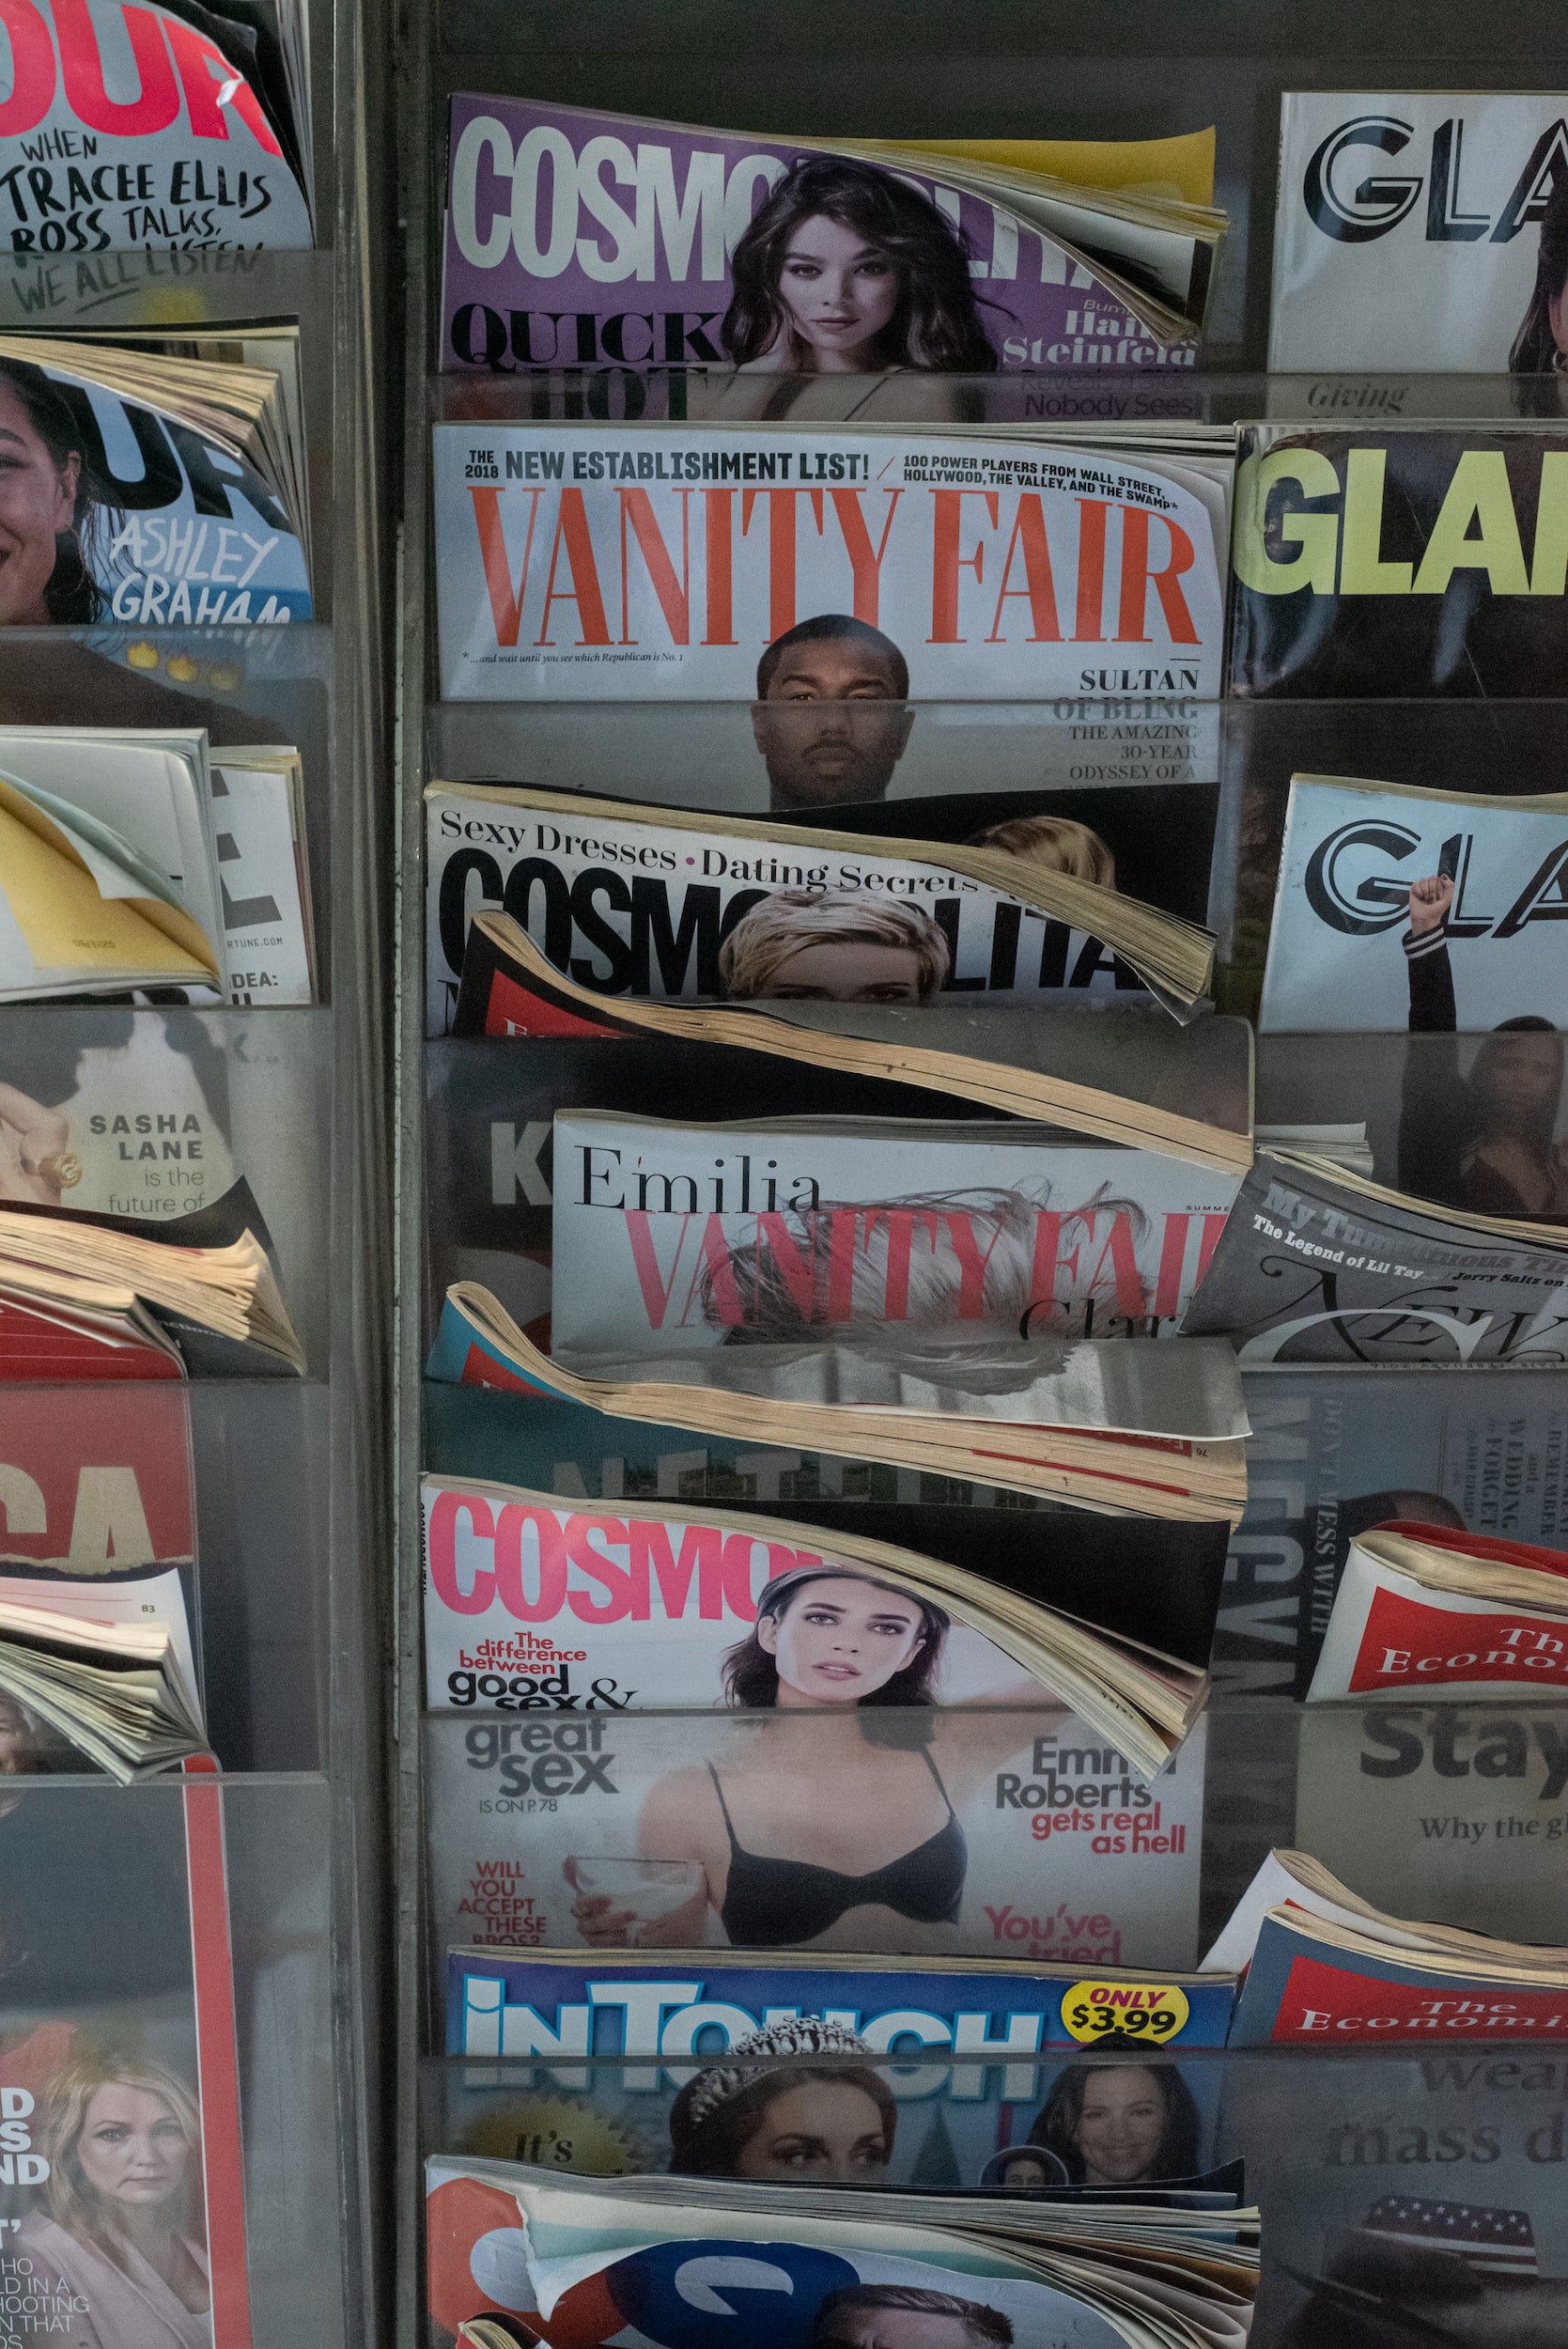
2. Choose images from magazines with topics you love so you’re creating a collage you like.

Can I let you in on a little secret? When you start with magazines and books full of stuff that you like, then you’re likely to find images of things that you love inside. Are you an animal lover or a travel enthusiast? Definitely find some National Geographic magazines to cut into! Do you consider yourself a foodie or wine connoisseur? Then go for some food magazines like Food and Wine, Culture or Bon Apetit. When it comes to magazines, it’s better to start with a smaller pile of publications that will have a lot of colorful, striking images than a GIANT stack of magazines that have photos you aren’t interested in.

The thrift store and second-hand bookstores usually have a ton of “coffee table” books that are packed with colorful photos you can use for collages.
Also, here are a few more tips on getting books and magazines:
-Ask your neighbors if they have any that are heading to the recycle bin soon! This helps you make the earth more beautiful by making art AND focusing on one of those 3 Rs.
-Old calendars can be a great source of images and inspiration for a collage! Plus they usually have larger pictures than those you would find in a magazine.
-The thrift store and second-hand bookstores usually have a ton of “coffee table” books that are packed with colorful photos you can use for collages.

When you’re choosing images from magazines: Don’t overthink it!
My next tip on how to choose images for your collages is this: Don’t overthink it. It’s better to sit down with your stack of books and magazines, take a few breaths to clear your mind, and then quickly flip through them, pulling out anything that your mind is drawn to. I like to compare this to the Marie Kondo method of sparking joy. If a photo sparks joy, just rip it out really fast and make a pile of them. And flip through those pages at a steady pace. After you’ve pulled everything out, you can go through, trim up all your images, and only use those that you truly want to.
Here are some of my favorite magazines to use:
-Afar
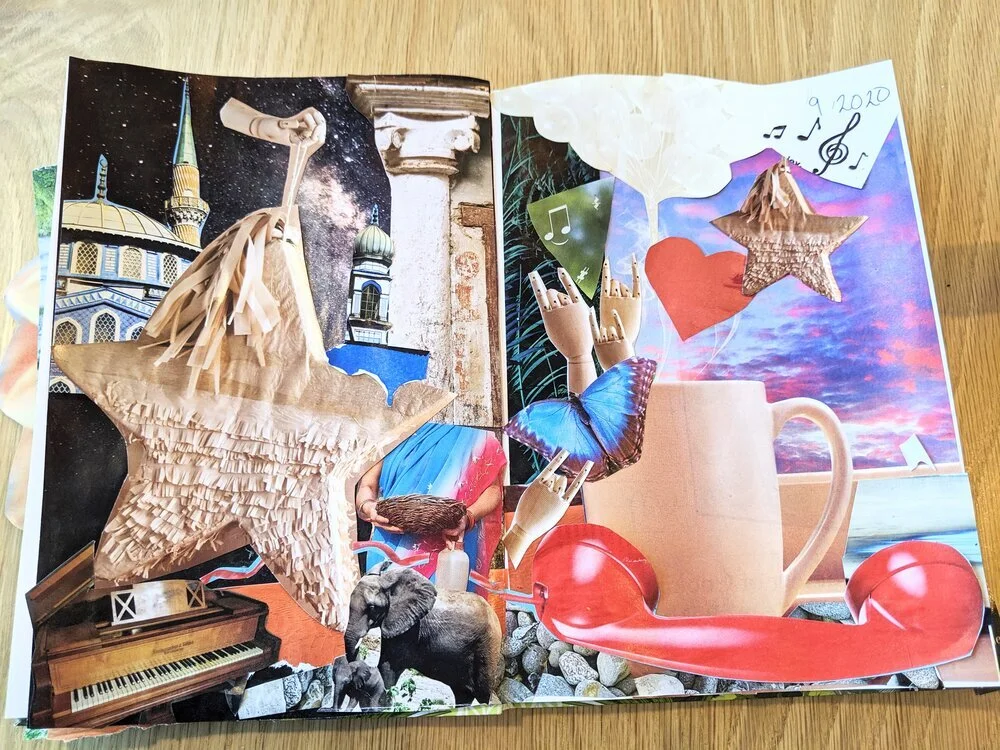
3. Add a variety of textures by using different cutting methods

Vary up your cutting methods to create a variety of texture in your artwork.
This one tip is a total game-changer for collage pieces! When you vary up your cutting methods, you create a variety of texture in your artwork that is pleasing to the eye and make it more interesting to look at. Remember all those cutting tools you gathered up before you started? Once you’ve pulled all the images out of your books and magazines, it’s time to use every single one of them, plus one more: your fingers!
Tearing and ripping around images creates a softer, rugged texture around them. I like to use this technique for things like hair, fur, and soft flower petals. If it’s soft in real life, then I usually rip around it in collage.
I’ll also use my vintage scissors that have a more dull edge for softer textures. When it comes to intricate things such as flower stems grouped together or even lace, I’ll use my Exacto knife and table mat to cut them out. You can take time practicing all of these different cutting methods on magazine pages you don’t particularly care about first to gain control of ripping and cutting before you use these techniques on pictures you DO love.
So, to review, here are the cutting techniques I use for collage:
-Ripping and tearing for soft objects (animal fur, flower petals, blankets, textiles, hair)
-Cutting with scissors for smooth objects (tables, doors sailboats, body parts, most things)
-Cutting knife and mat for intricate details (lace, flower stems in a bouquet, ropes, or ribbons)
4. Take pictures before you put together a gluing strategy for your collage.

Does anybody else have some commitment issues? If so, you aren’t alone! One of my favorite things about making collages is that two people could start out with the exact same images, but they would put together completely different pieces of artwork! I always recommend having your phone close by on Do Not Disturb (so you don’t interrupt your flow) and taking pictures as you go. This gives you the freedom to try out all the possibilities of arranging your pictures without worrying that you’ll forget what looked good.
This also allows you to step away from your project if you need to for a little while. As long as you’ve taken enough photos of your process, you can pack up all the magazine images in a baggie and tuck them in your sketchbook for later. Sometimes I’ll do this if I run out of time, other times I’ll do it if I need to pick up a few more magazines to flip through. I can’t tell you how many times I’ve put together a composition for a collage and thought “If I just had a sunflower THIS BIG it would be perfect.” And then set out to find said sunflower.
Plus, this always makes for great process photos to share on social media! It’s so fun to talk about the art process this way, and also to journal about what was going through your head as you were working. When you can look back on the process of creating and analyze it instead of doing that in the moment, it really helps you to stay present while creating and also learn more about the way your intuition works!
Once you’ve got a composition you love, you can start gluing layer by layer. (And remember our collage adhesive pledge: “I will always, always, always use a glue stick when creating a magazine collage. I will never, ever, ever, use a bottle of liquid school glue when making a magazine paper collage.”
5. Keep making collages!
Here’s the thing about art, it’s completely subjective. What one person loves, another person hates. Recently I saw a graffiti artist who had spray-painted Cambell's can of soup that said,” If this was a Warhol, you’d buy it,” and really, I had to chuckle at its truth. And speaking of Andy Warhol, this one quote of his is my daily art mantra:
“Don't think about making art, just get it done. Let everyone else decide if it's good or bad, whether they love it or hate it. While they are deciding, make even more art.”-Andy Warhol
The more collages that you make, the better you’ll get at your process of choosing, cutting, tearing, piecing, layering, and gluing. And as you hone your process, you’ll learn how each person has a different process a different style, and develop your own!
I hope these tips helped boost your confidence and I’d love to see what you create! Share your work on IG and then tag me at @andi.garbarino so I can share in your creative joy and shout you out. And as always, if you have any questions shoot me an email at hello@andigarbarino.com or leave a note in the comments.
Cheers to making art,
Andi Garbarino
About Andi:
Hi! I'm Andi Garbarino-- my heartbeat is seeing people find the courage to let go, have fun and be creative. I'm a mixed media artist and self-proclaimed Texas wildflower that's been transplanted to the New England Coast. My work has been featured in local businesses, gallery exhibits, and homes across the country and I believe that art is the most accessible form of hospitality. When I'm not arting around, you'll find me playing guitar and singing LOUDLY, strolling the beach with my partner and our two dogs, or dancing around the kitchen to the Guardians of the Galaxy soundtrack.