
Art Supplies and Mindful Mandalas

This post contains affiliate links. That means that I may earn a commission if you make a purchase through one of these links.
I don’t know about you, but I’m all buckled up and ready to dive in headfirst to this beautiful, busy season. There are so many things I love about the holidays—the feeling that everything is possible and every dream could come true, parties and celebrations with people I care about, the lights, the treats, the traditions. But, it is true that there is such a thing as GOOD stress, and as we head into the new year there is plenty of it to go around.
And that is why today, I’m sharing about one of my favorite creative practices of mindfulness: creating mandalas!

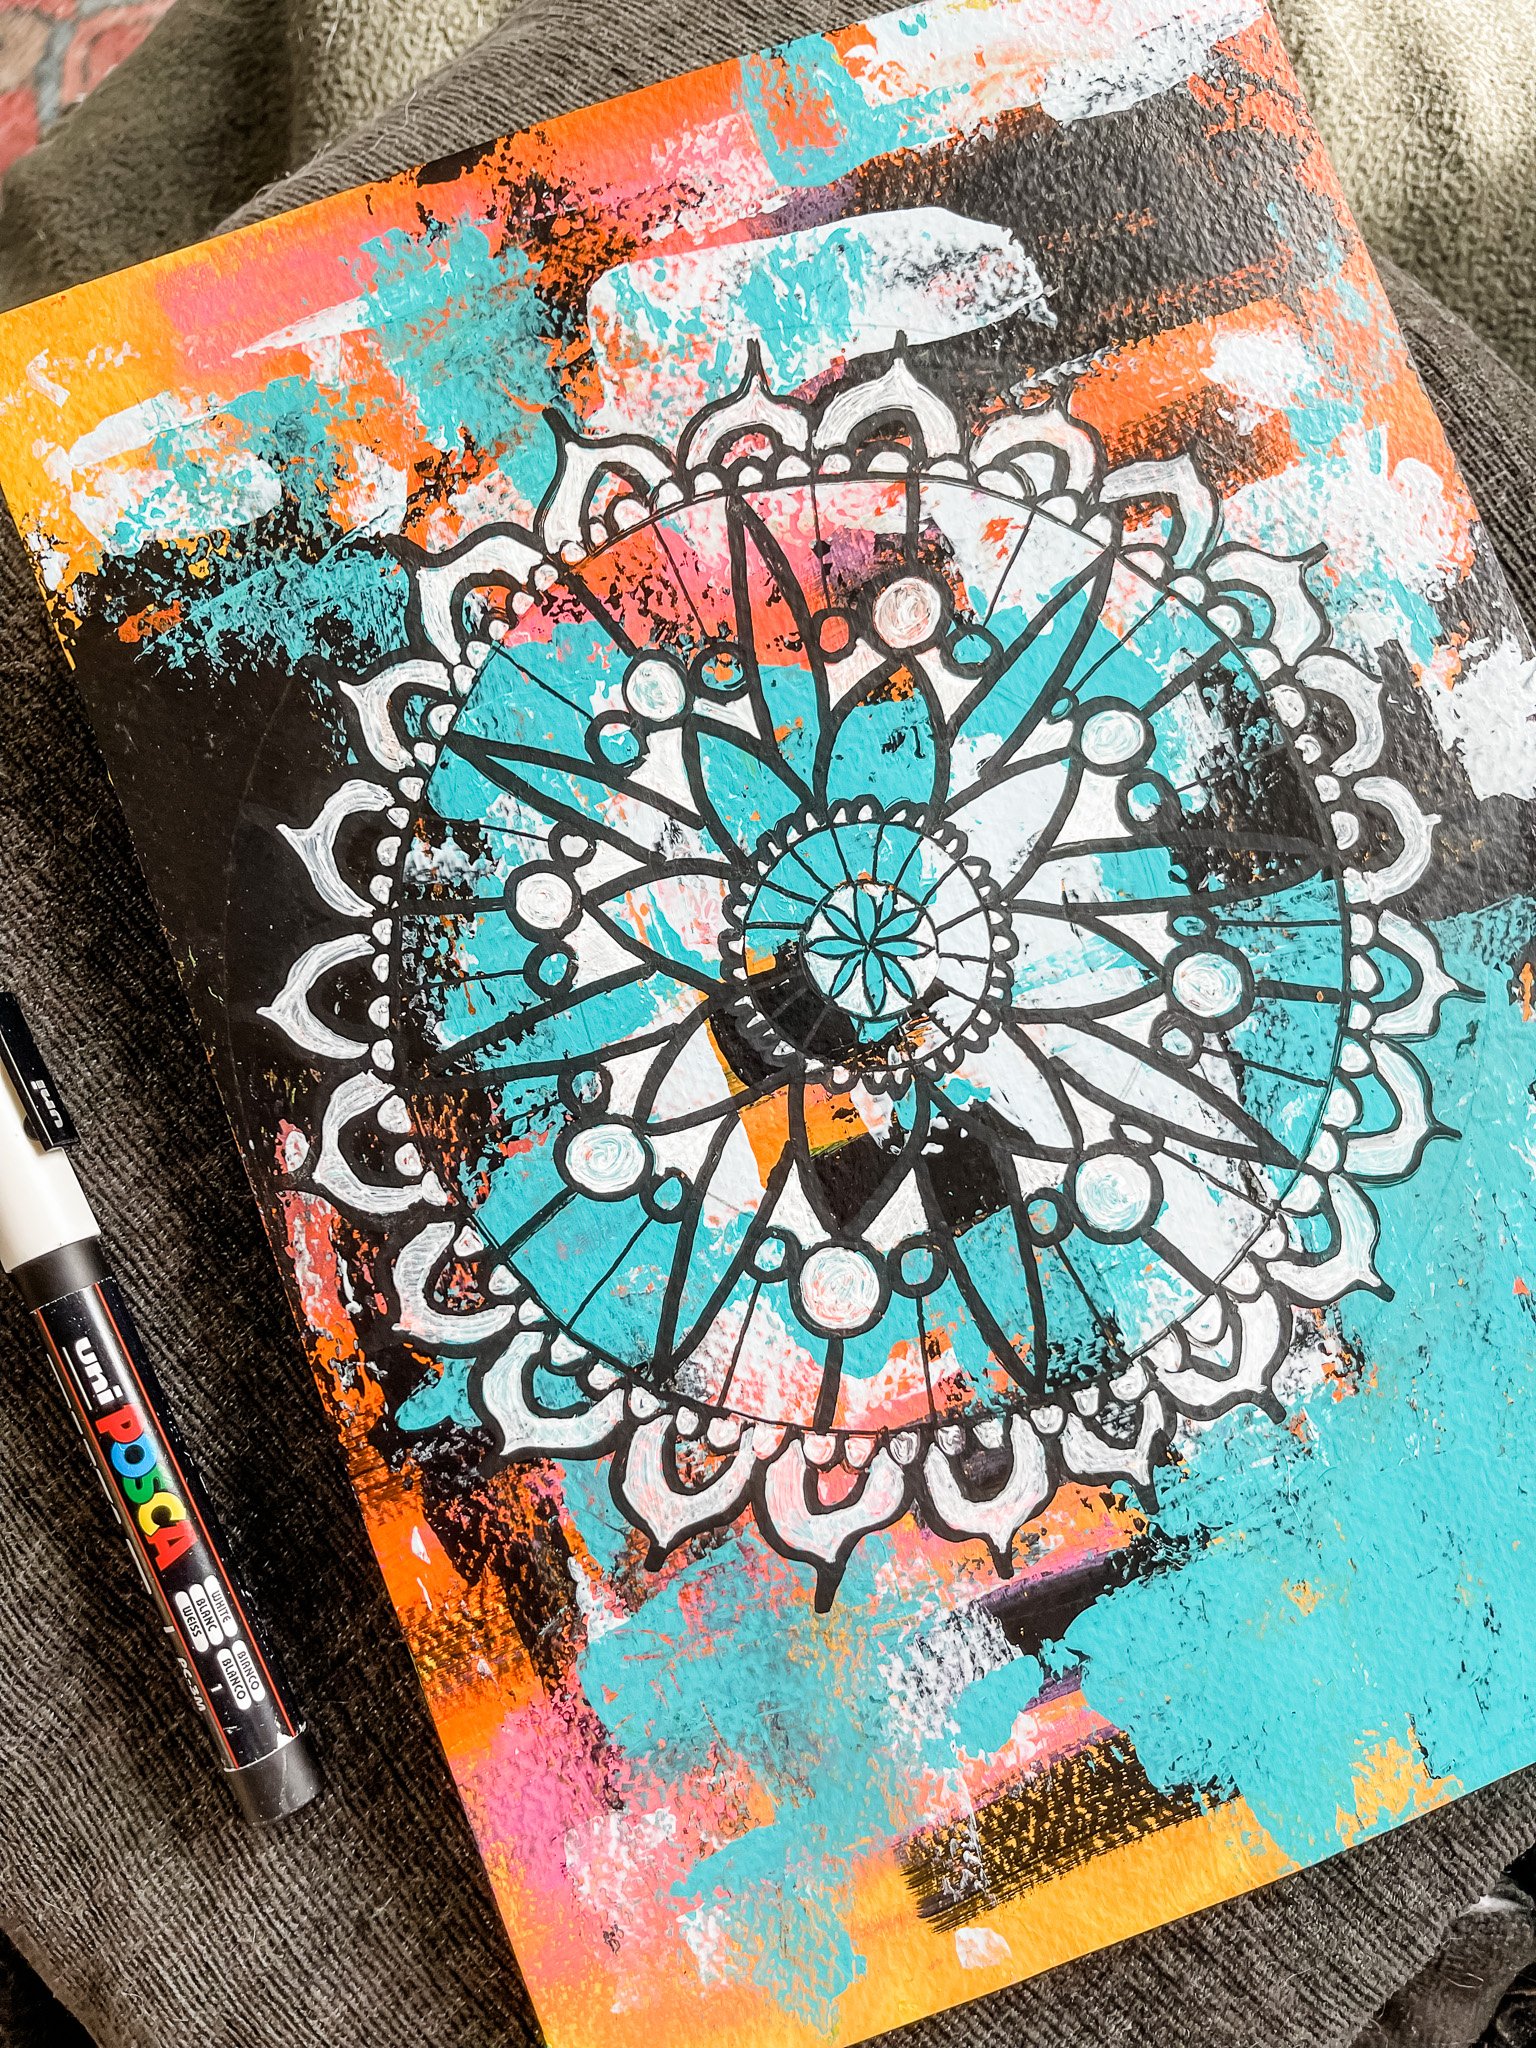
Usually, photos of my mandalas are taken on the couch, because that’s where I sit most of the time and create them!
What is a mandala?
“Mandala” is loosely translated from Sanskrit to mean “circle”, and if you look at the photos above, you can see why. Mandalas are built by repeating patterns in a circle, and they have a very old and rich spiritual history throughout all of existence! I won’t pretend to know everything about the history of them, but I will say that their meanings in spiritual Asian art are very beautiful and worth looking up and reading. Other circle patterns for spiritual practices can be found throughout the world, from the Navajo, to Hildegard von Bingen, the Aztecs, and Tibetan monks and other cultures. So, give it a Google!
It’s important to spend time learning about art and spirituality practices from cultures different from your own, expecially when you begin practicing them so you can fully appreciate them.
(I promise I’ll keep researching too and share what I find with you here. 😊 )
My Mindful Mandala process
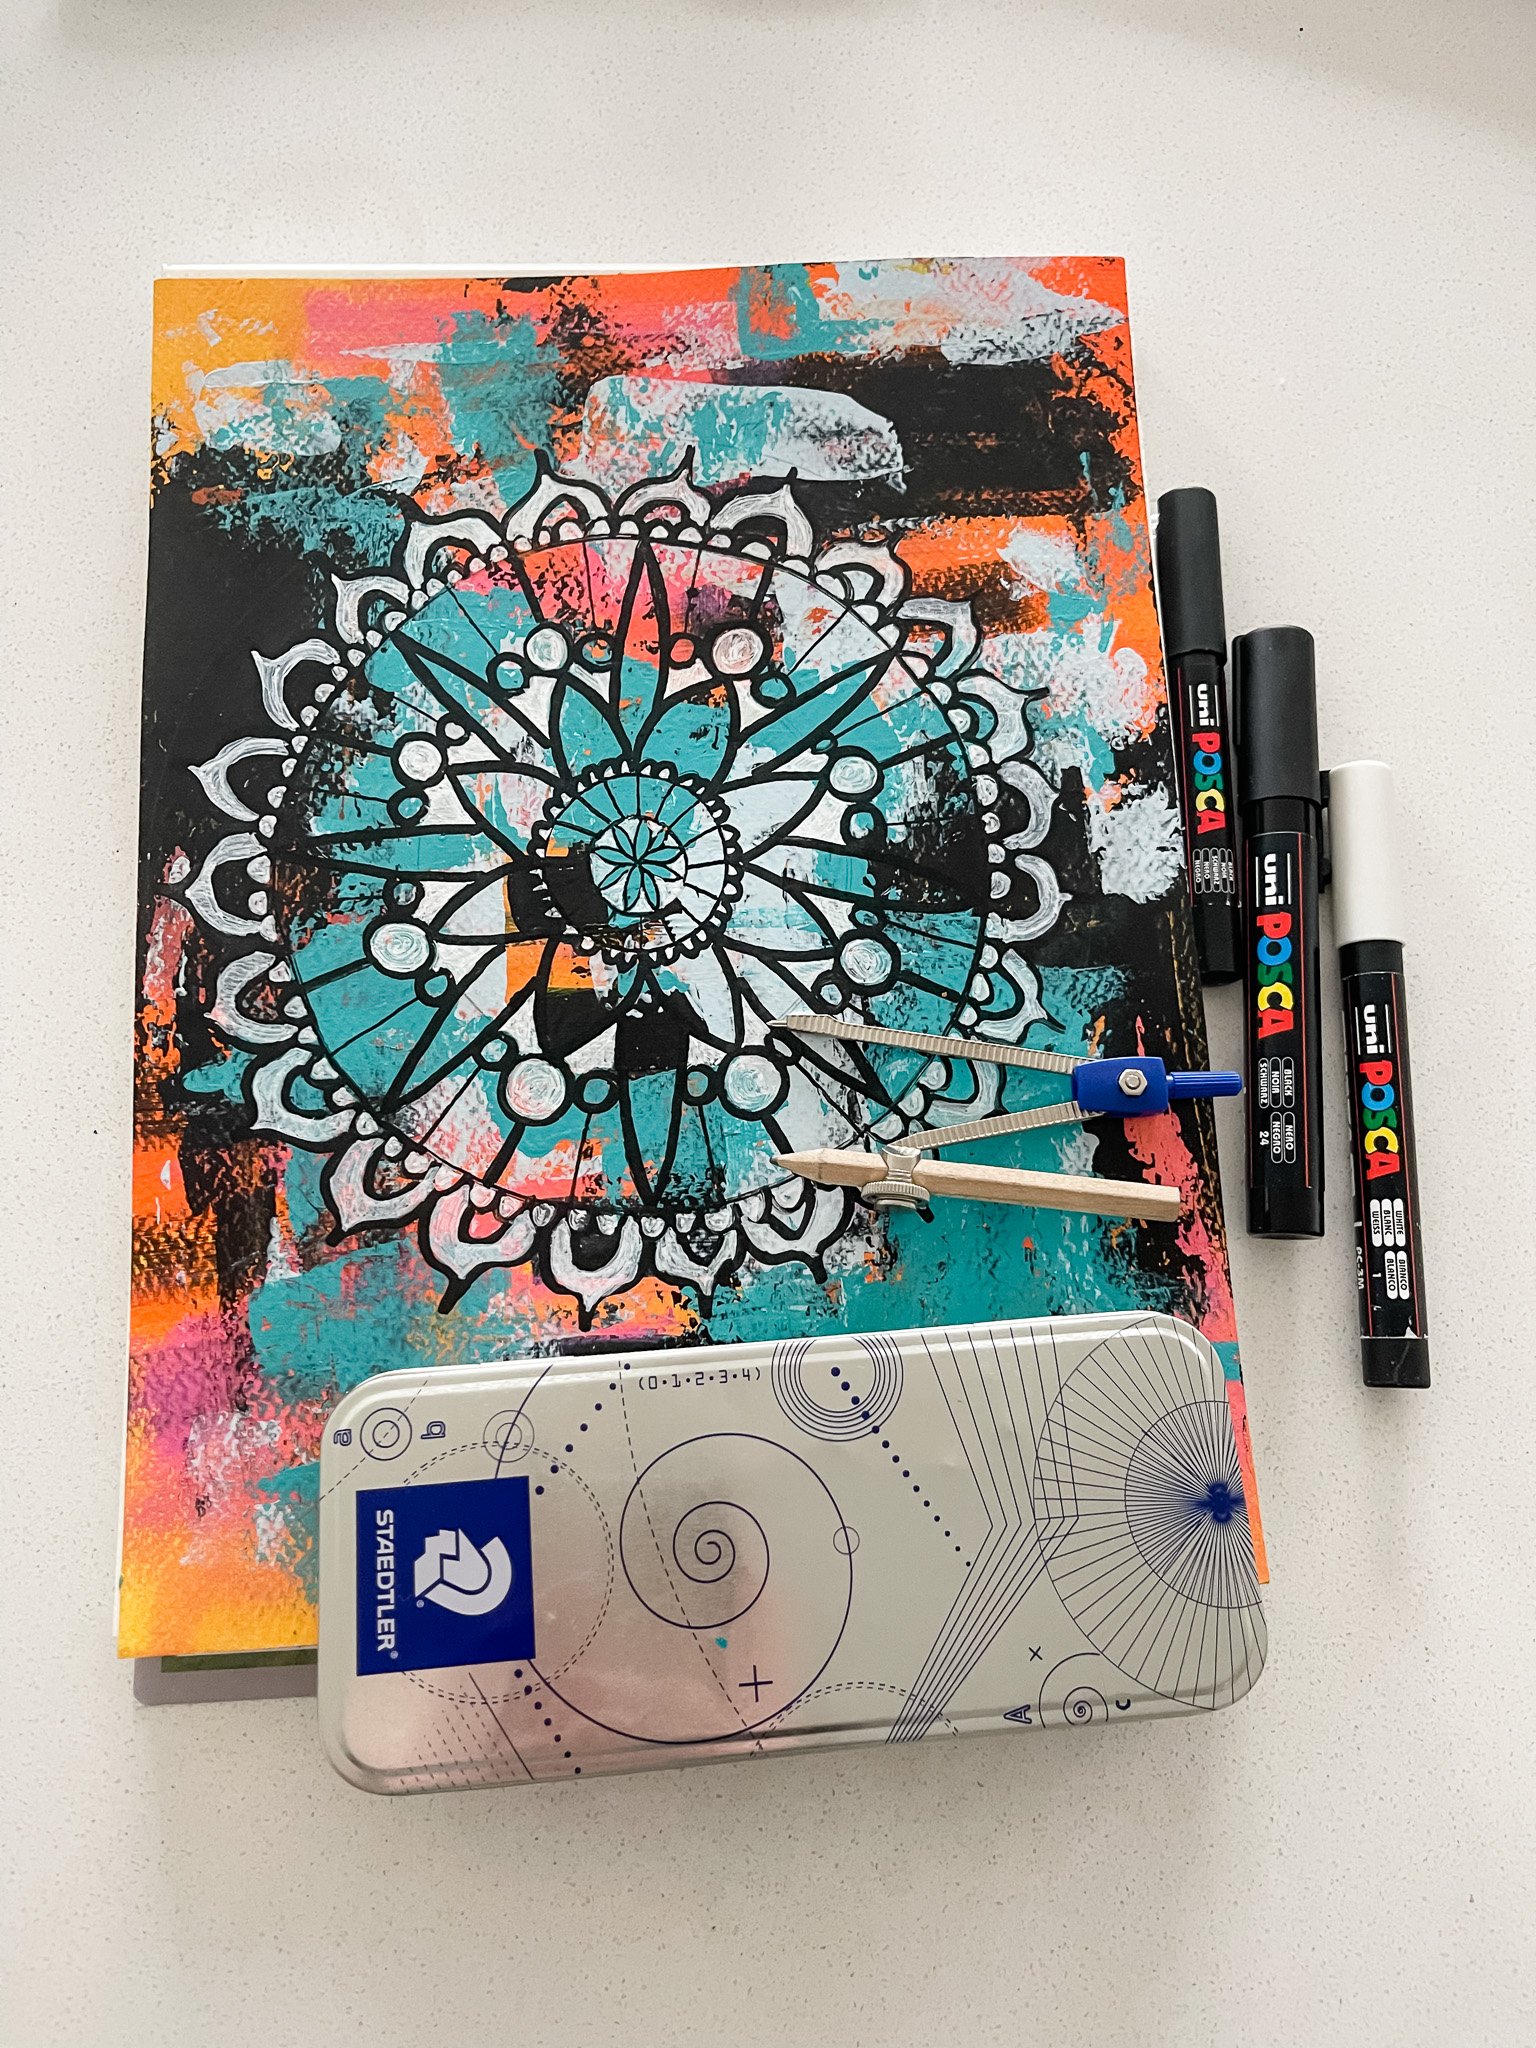
First: Gather your supplies!

Cue Julie Andrews: These are a few of my favorite things!
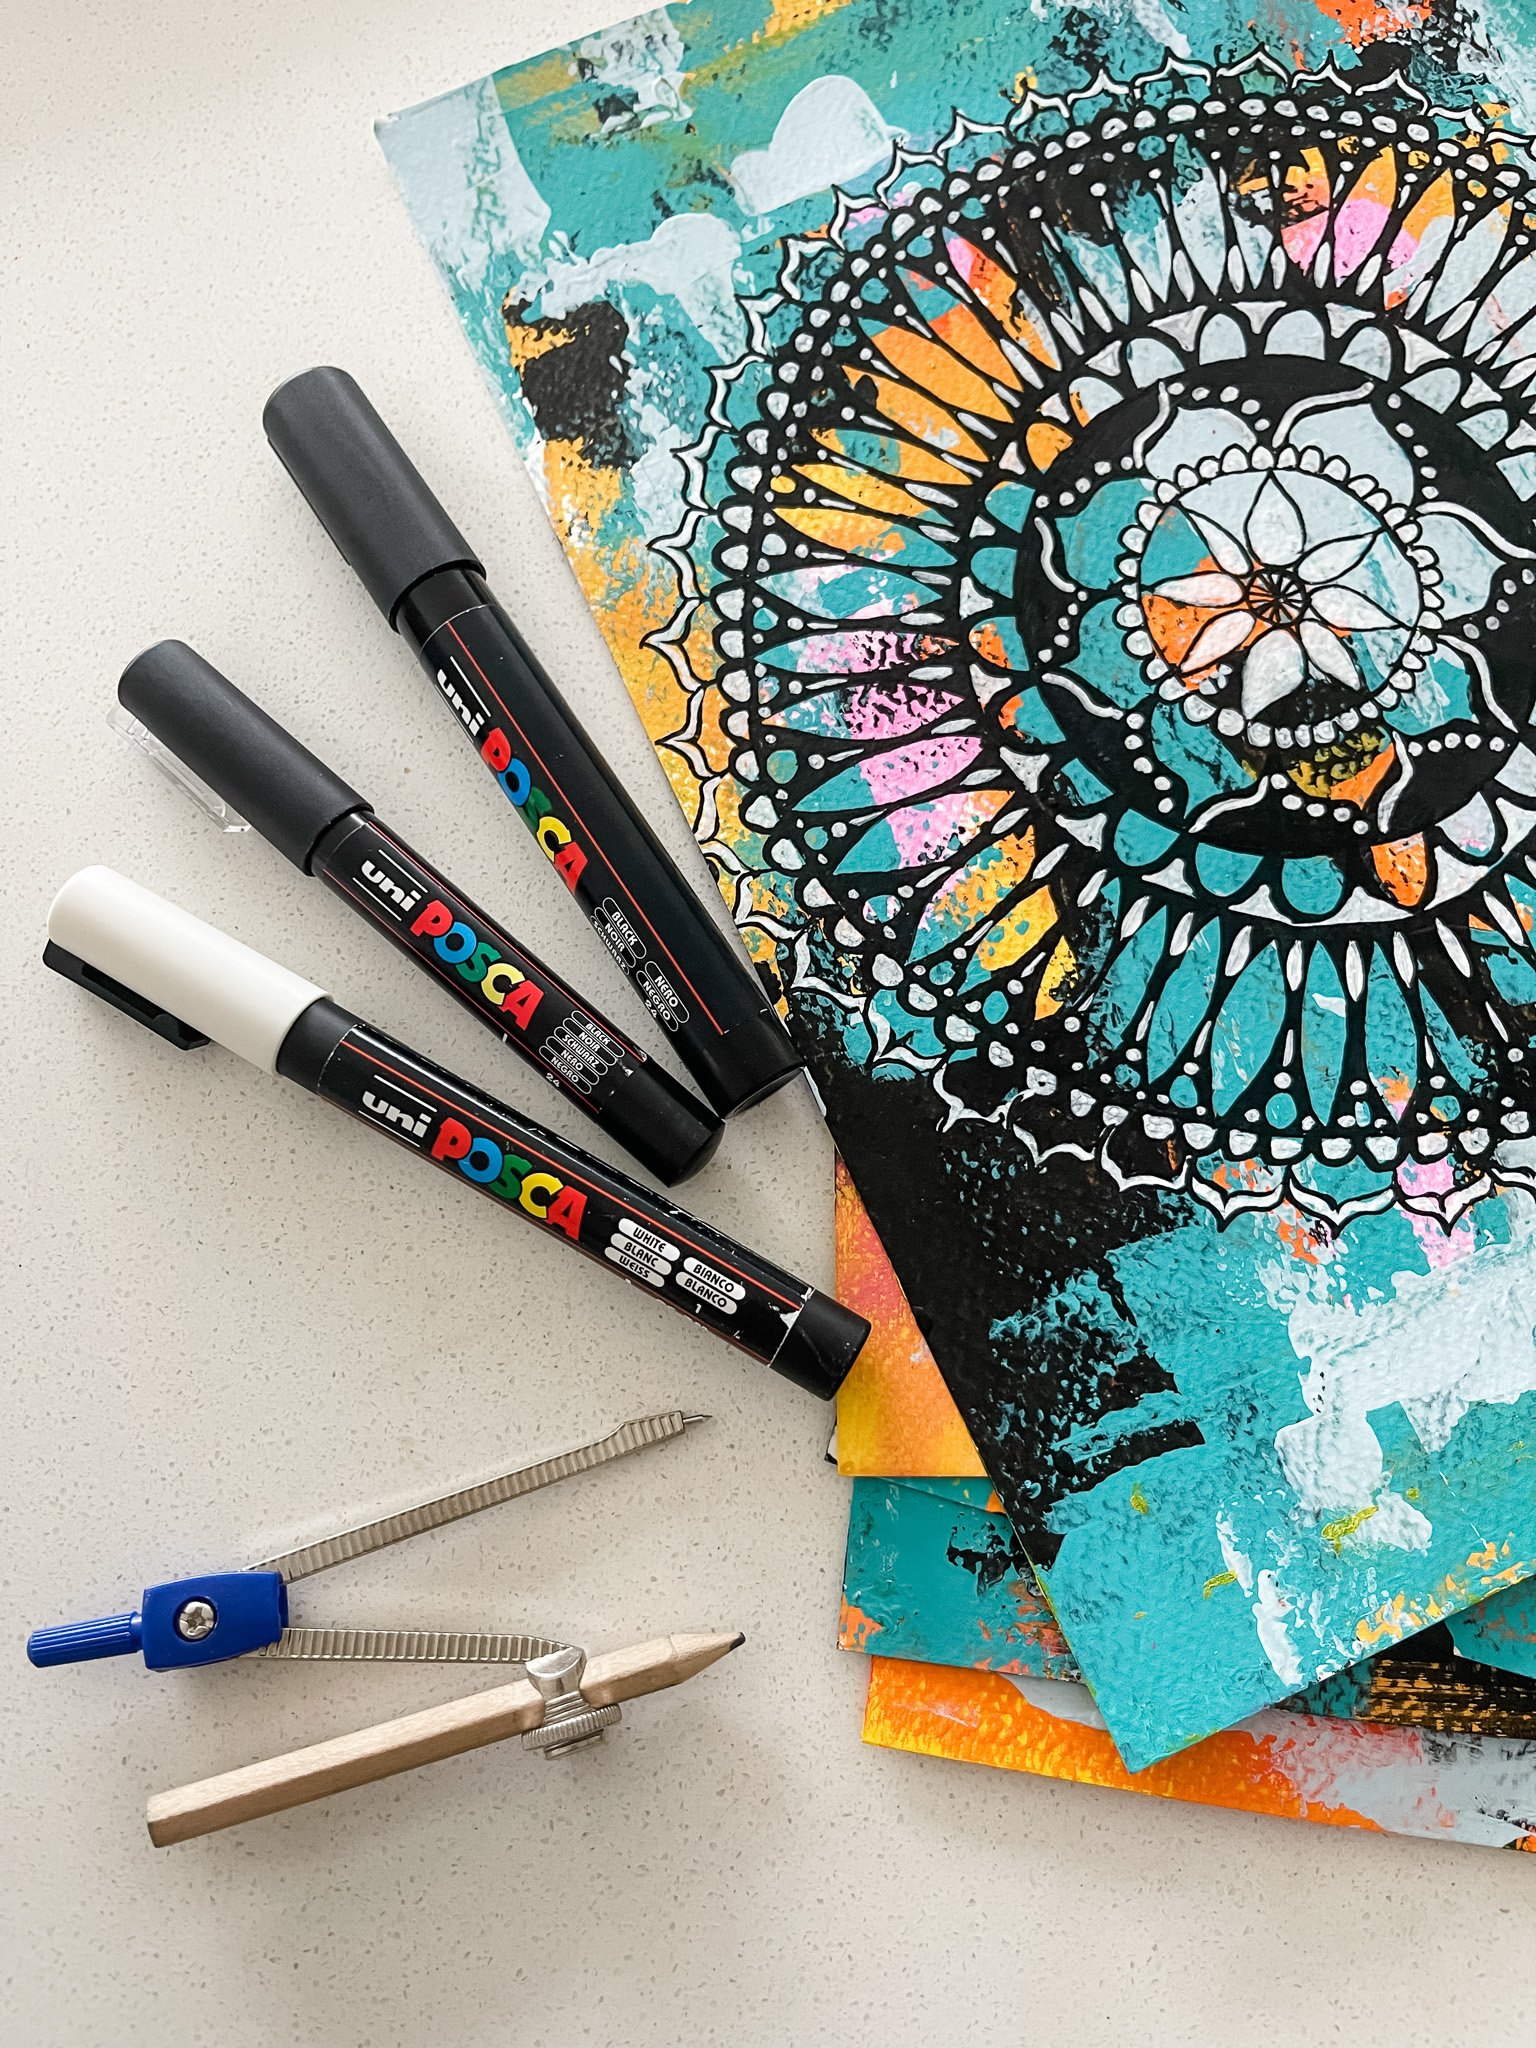
Here’s my recommended list of supplies:

Step One: Painted Papers
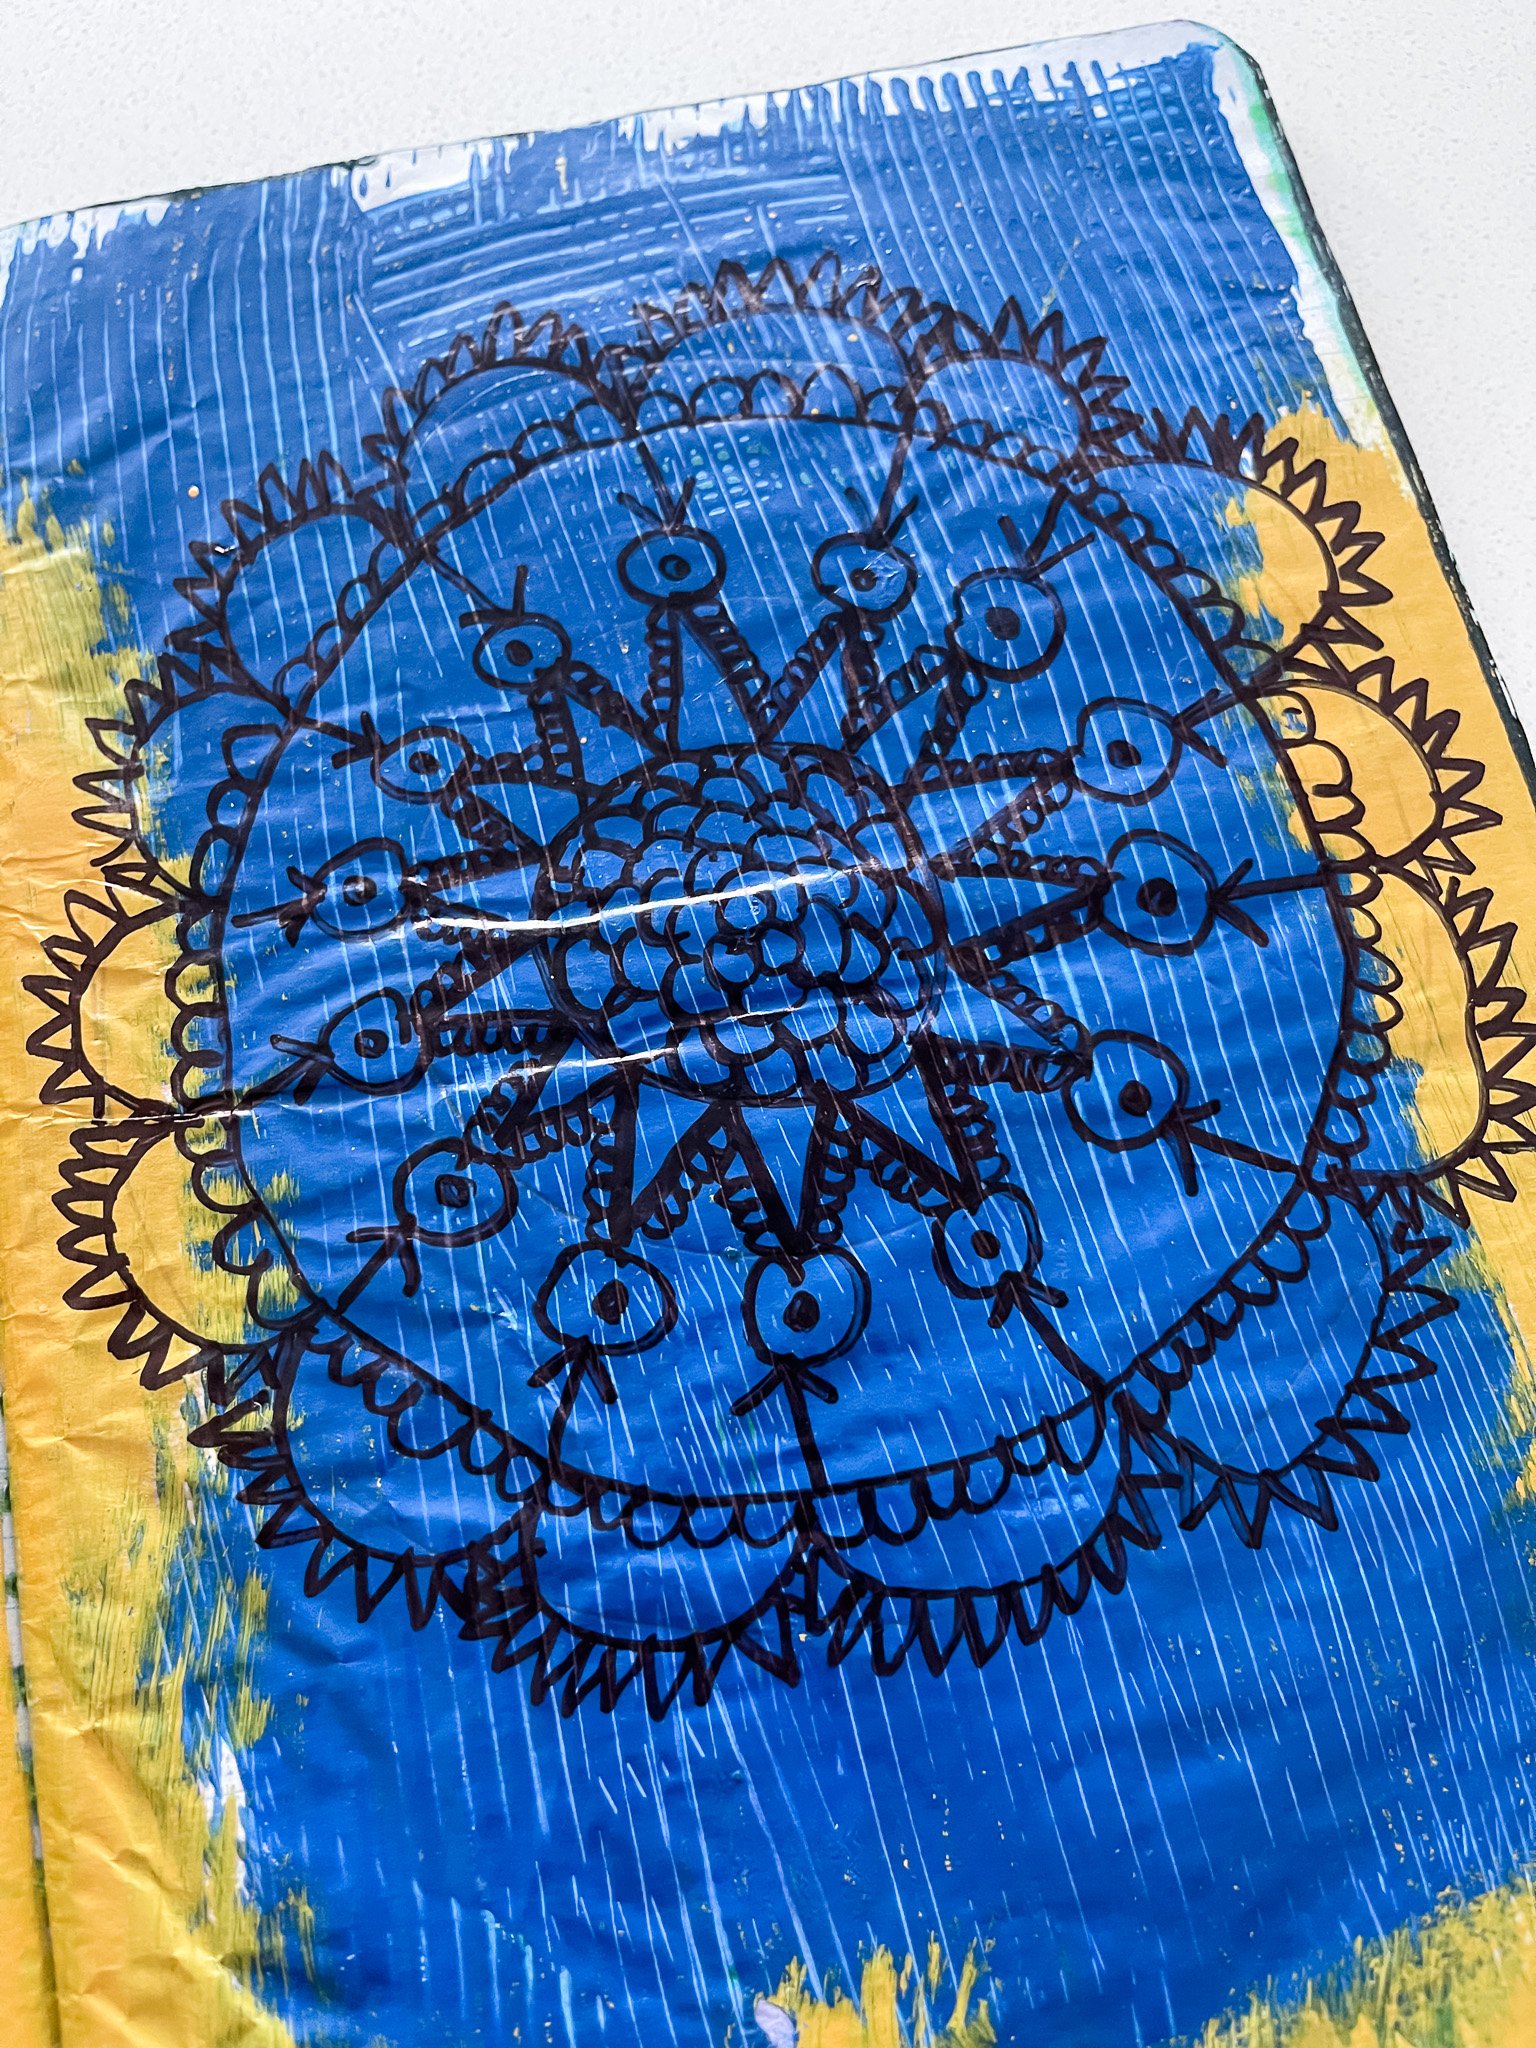
Sometimes looking at a blank piece of paper can be really intimidating to me, so when I’m working on a mandala or any other kind of doodle, I like having a page full of color before I get started. When I was working at the after school art program, we would start every new semester with a big painted paper party. I’d set up construction paper tables based on cool and warm colors, and they’d have paint that was also cool or warm at whichever corresponding table. (Make sense?) This would set the kiddos up for success to not make mud. There’d also be all kinds of fun printing materials they could use. Then we would have this gorgeous painted paper for collage and other painting projects!
I still do this in my own art practice by taking time every couple of months to just make a LOT of painted papers. I don’t necessarily sort by cool and warm colors anymore, but that’s because I take time waiting for each later to dry or use a blowdryer to help them along.
I also do this practice in my art journals—thanks to some tips from one of my favorite artists and teachers, Alisa Burke! I usually buy a couple of composition books at a time, and then sit down and have a painted paper session with them. For the exact same reason—sometimes a blank page can be intimidating! I highly recommend trying this practice out—it’s so fun and can be an excellent way to unwind, either in the quiet, or with a playlist…or sometimes I also like to do this while watching a shameful reality tv show. 😂
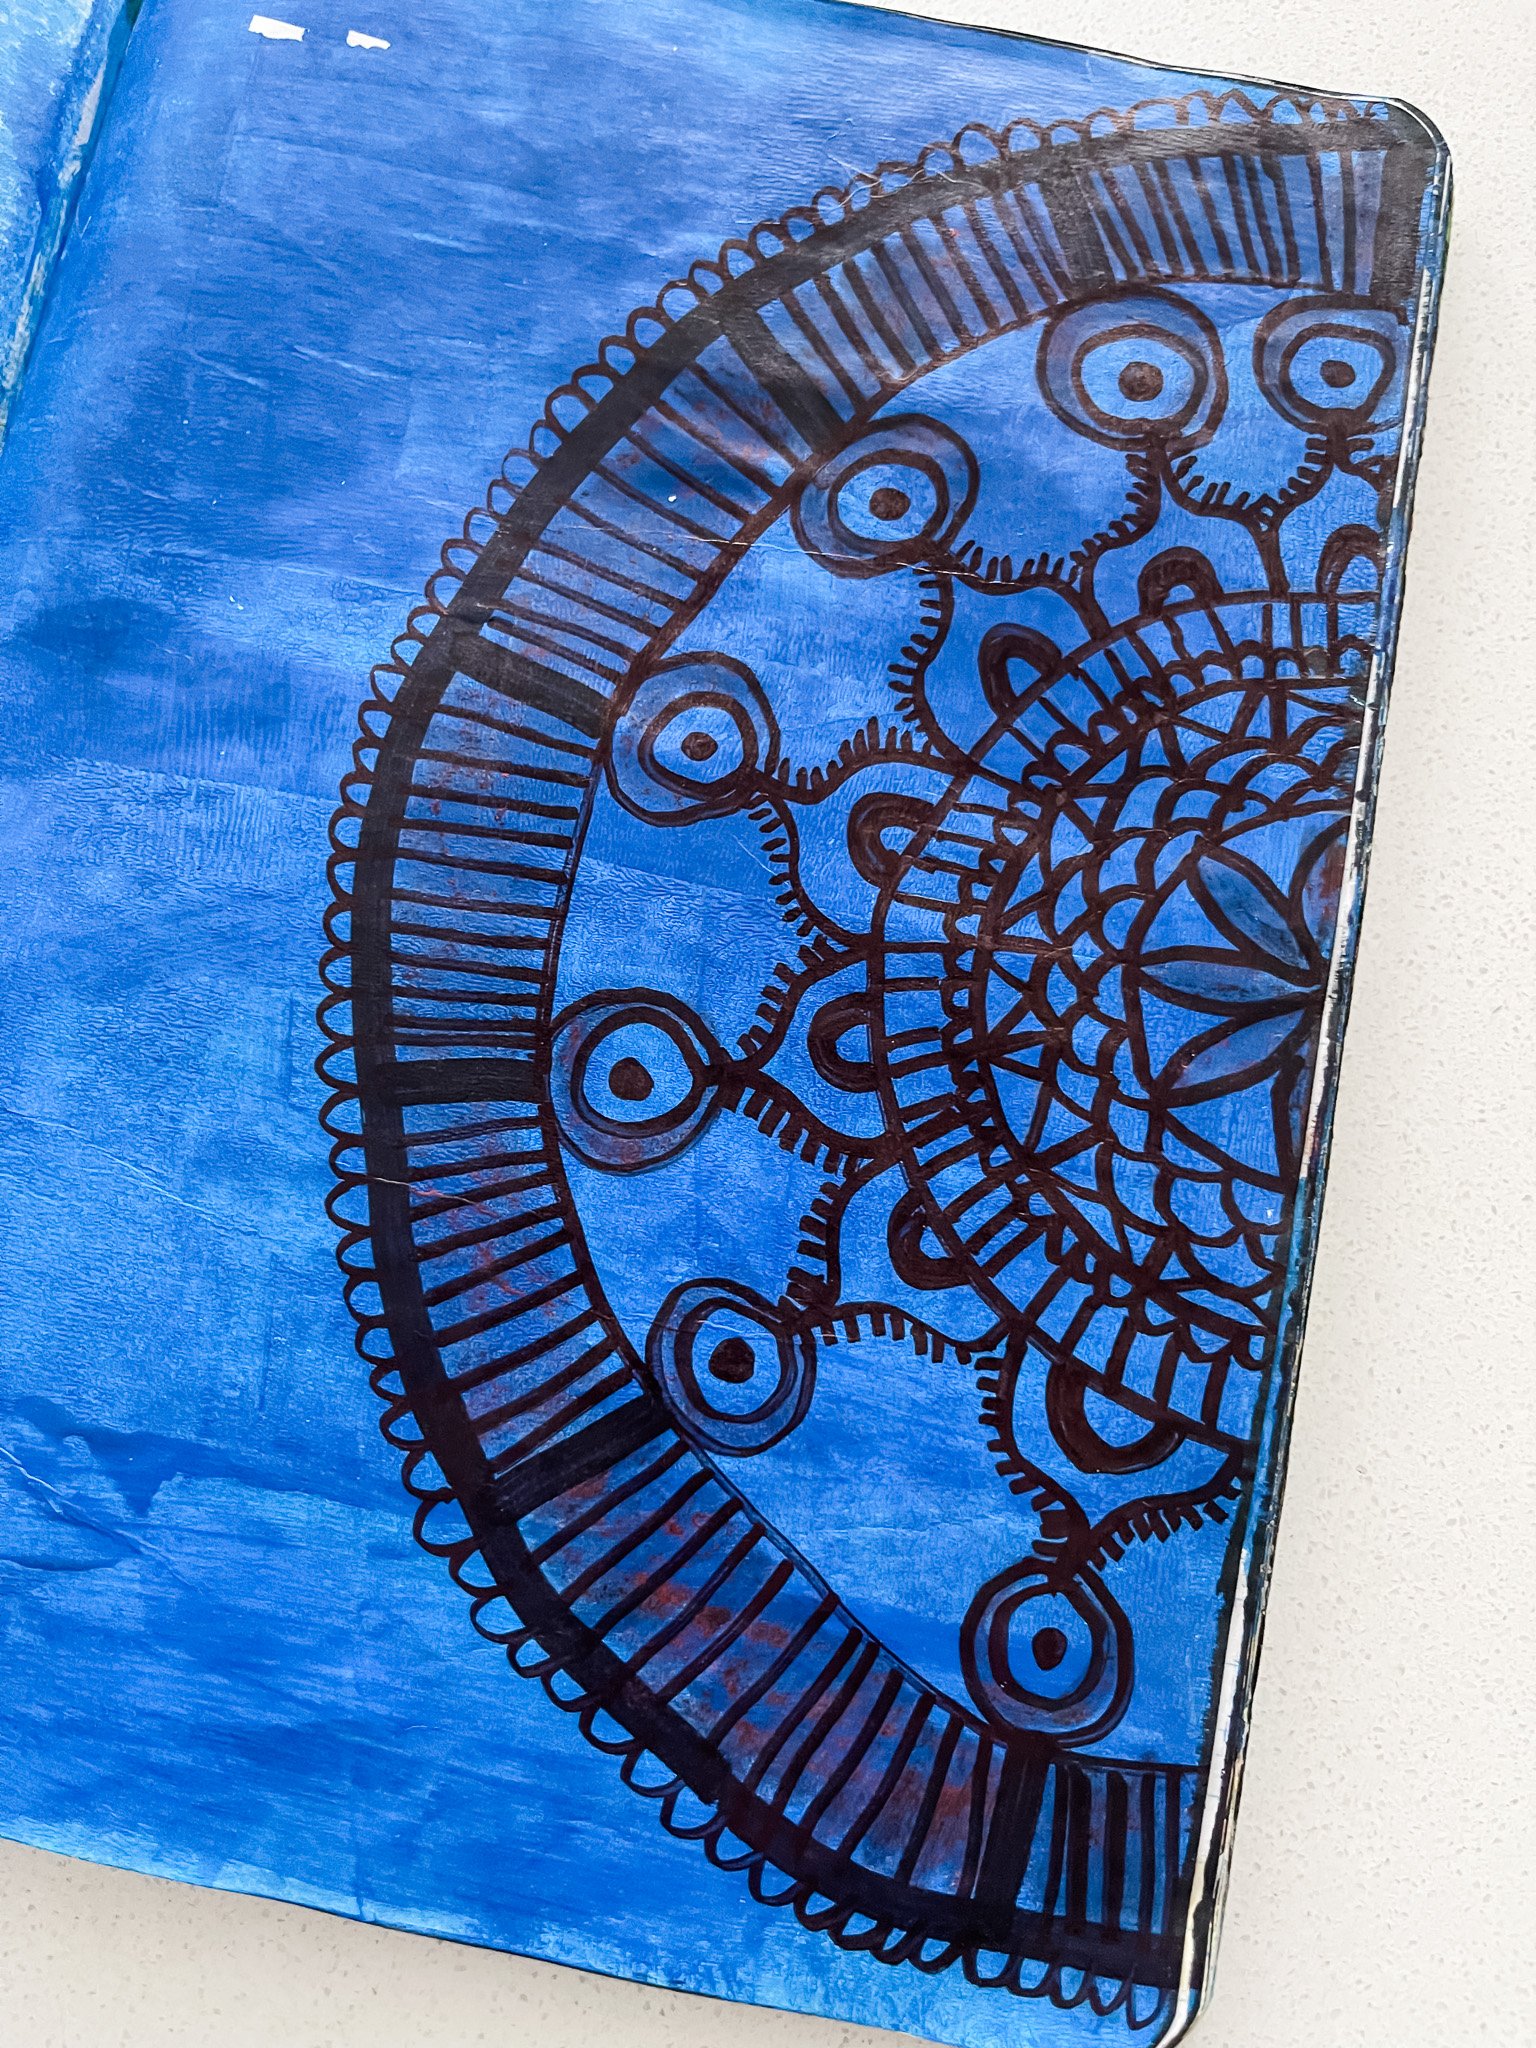
Step Two: Pencil it out

So, once you’ve got a variety of painted paper, it’s time to get started with your mandala! I use a compass to get my circles drawn, but in a pinch, I’ve also used both ends of a takeout coffee cup, a bowl, a plate, anything round. For me, the idea of this practice is to relax, spend time listening to myself and going slow, so you don’t have to stress about it being perfect! But, also sometimes I need it to be a certain way, or I will shame myself (I know, I know, I’m working through this!!!) so I like using the compass to make sure the circles are spaced out the way I like.
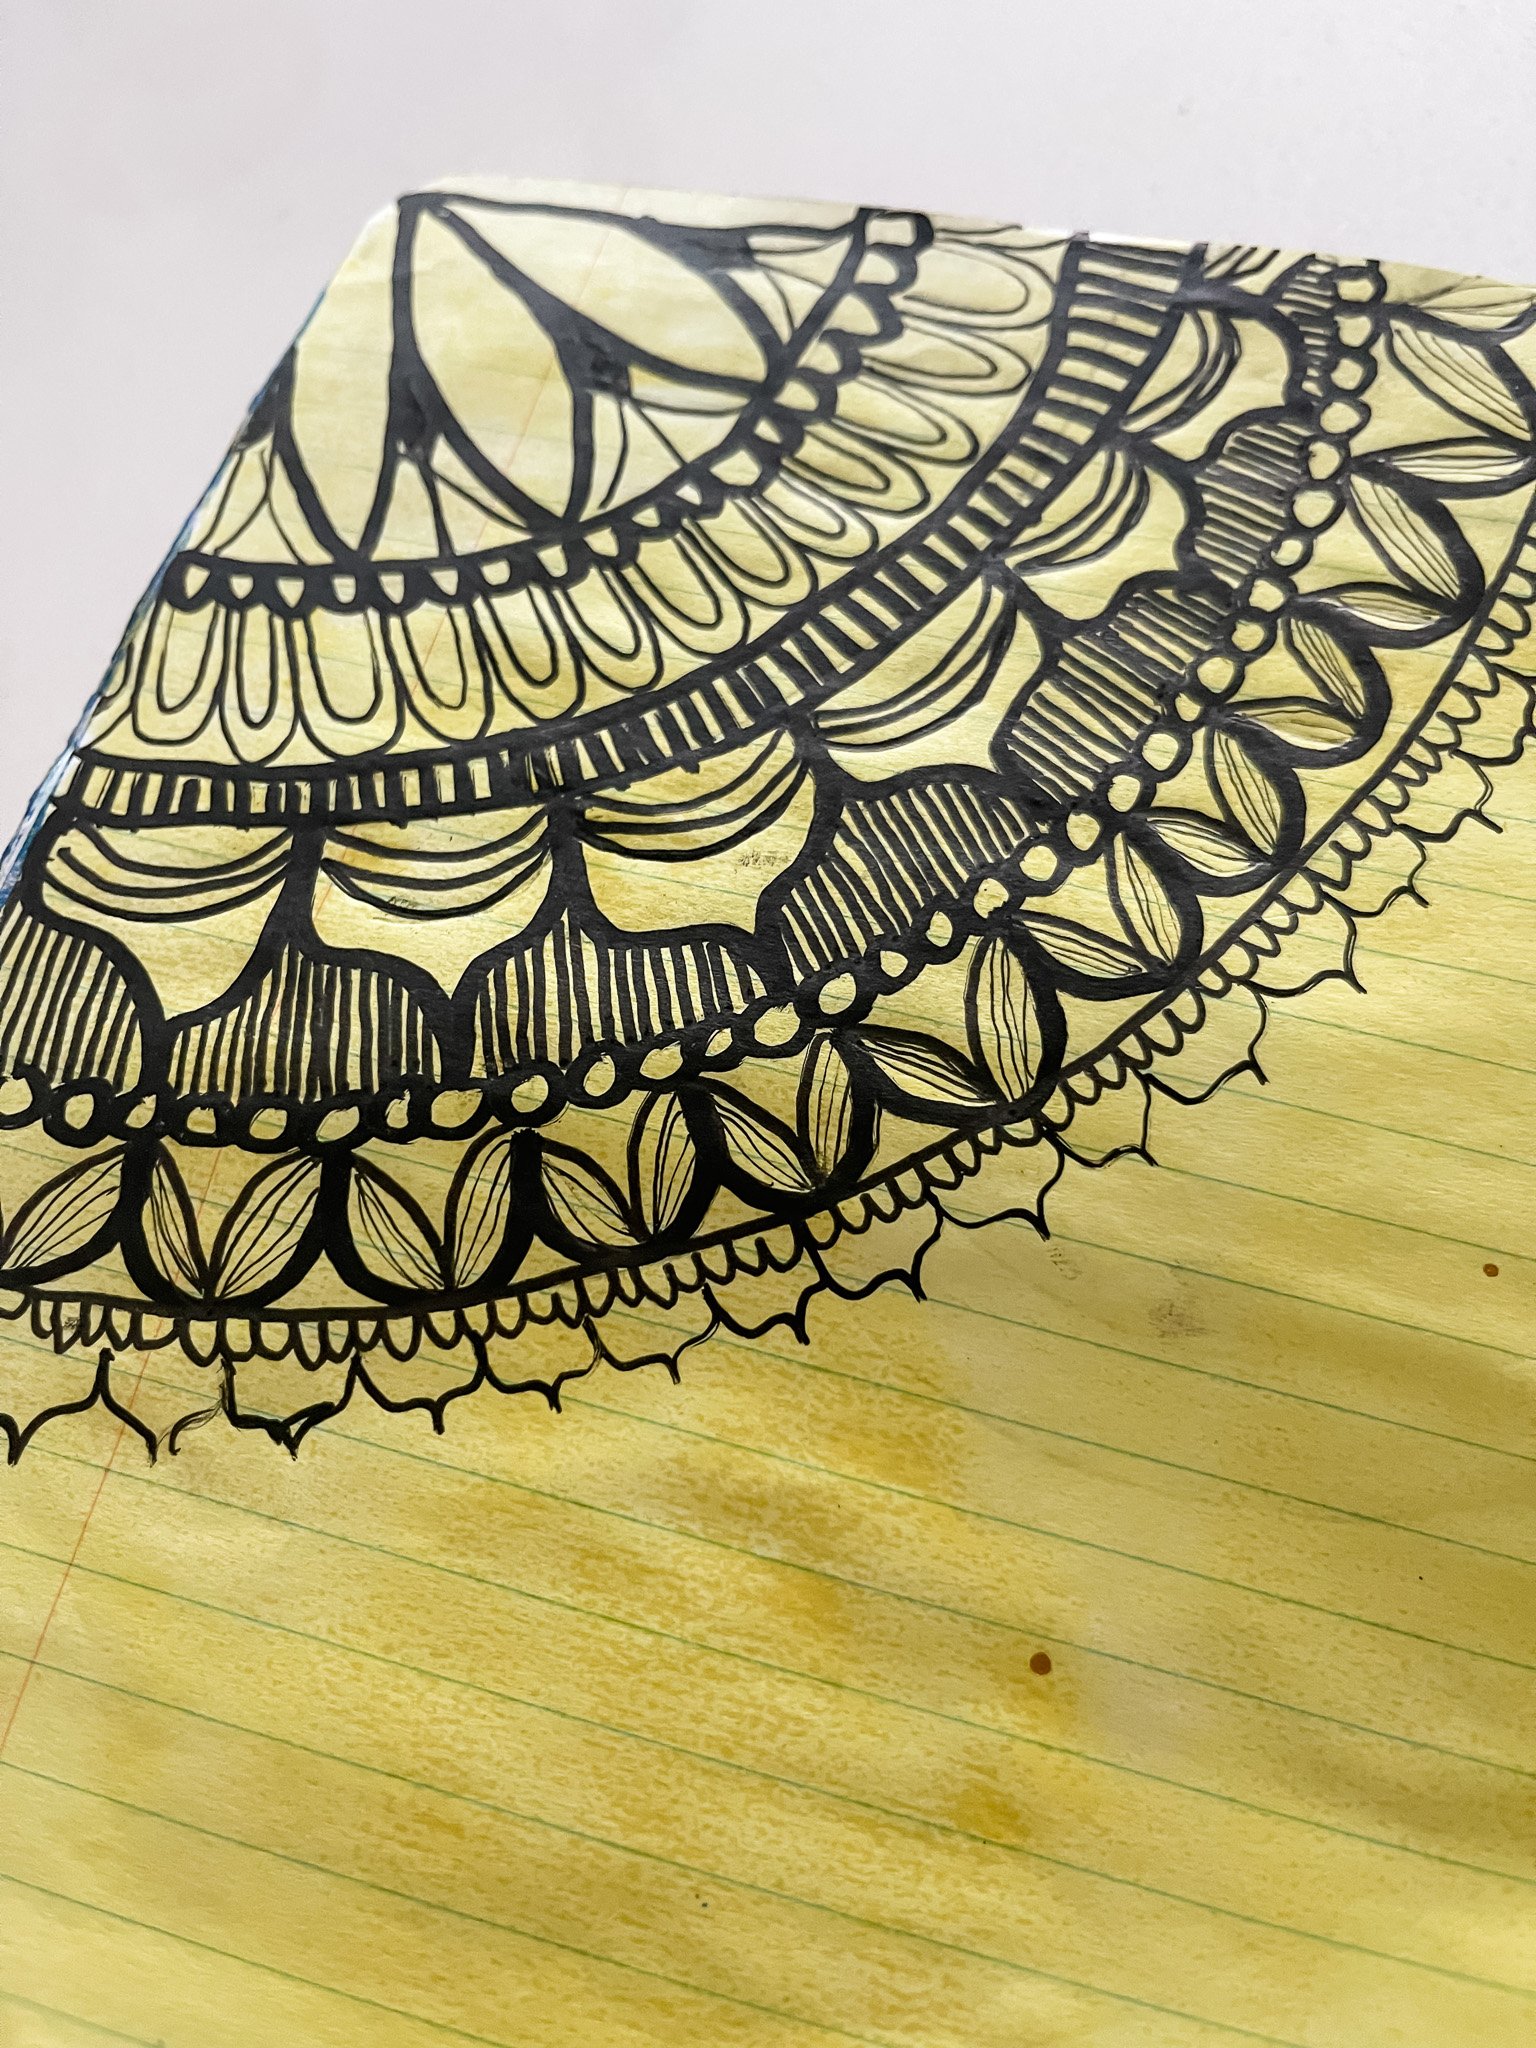
I draw out concentric circles in pencil with the compass, and then after that, I go about adding the repeating patterns in each layer—also in pencil.
Step Three: Go Over the Pencils with Markers!

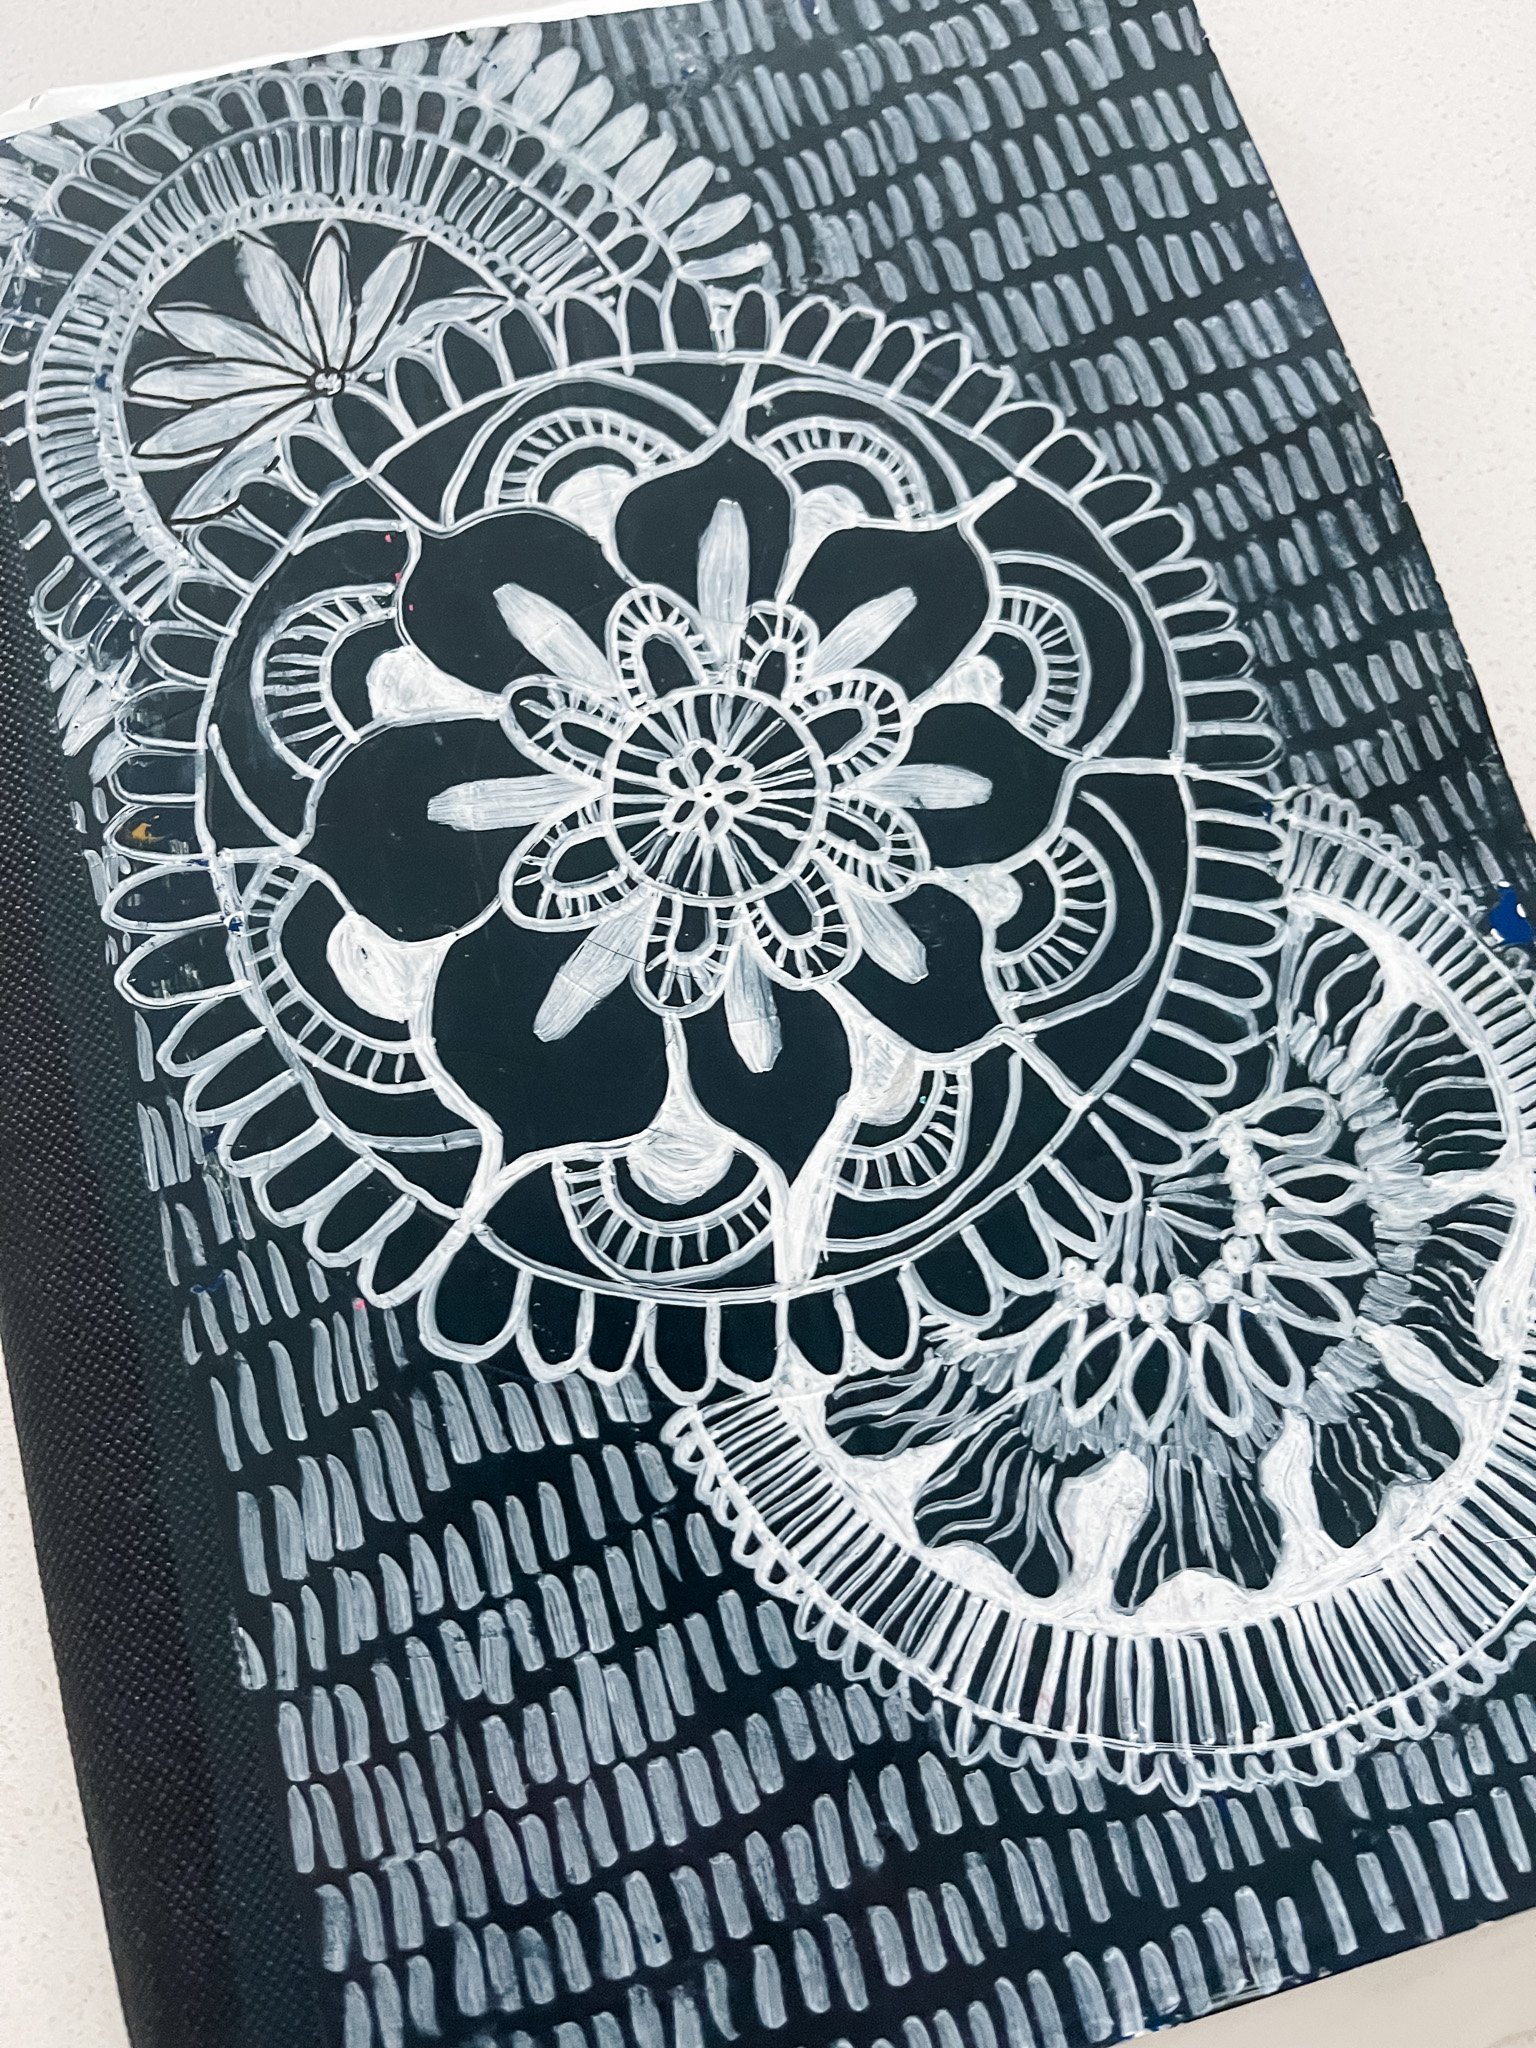
Here’s an outlined mandala on one of my art journal painted pages.
This step is pretty self-explanatory. But, my best advice is to GO SLOW as you trace your pencil with a marker. Or a Sharpie. Or a gel pen. Or whatever your heart so desires. My favorite thing to use on acrylic painted papers are Posca pens—I’ll share my exact supplies recommendations at the end of the post.
Again, this is a practice in mindfulness, so go slow and enjoy the rhythm of the repeating patterns in each circle. You can get creative here by making up symbols that mean things and tell a story. You can use this as a journal. You can write words into it. It’s YOUR mandala! Make it your own, and use the time it to relax.
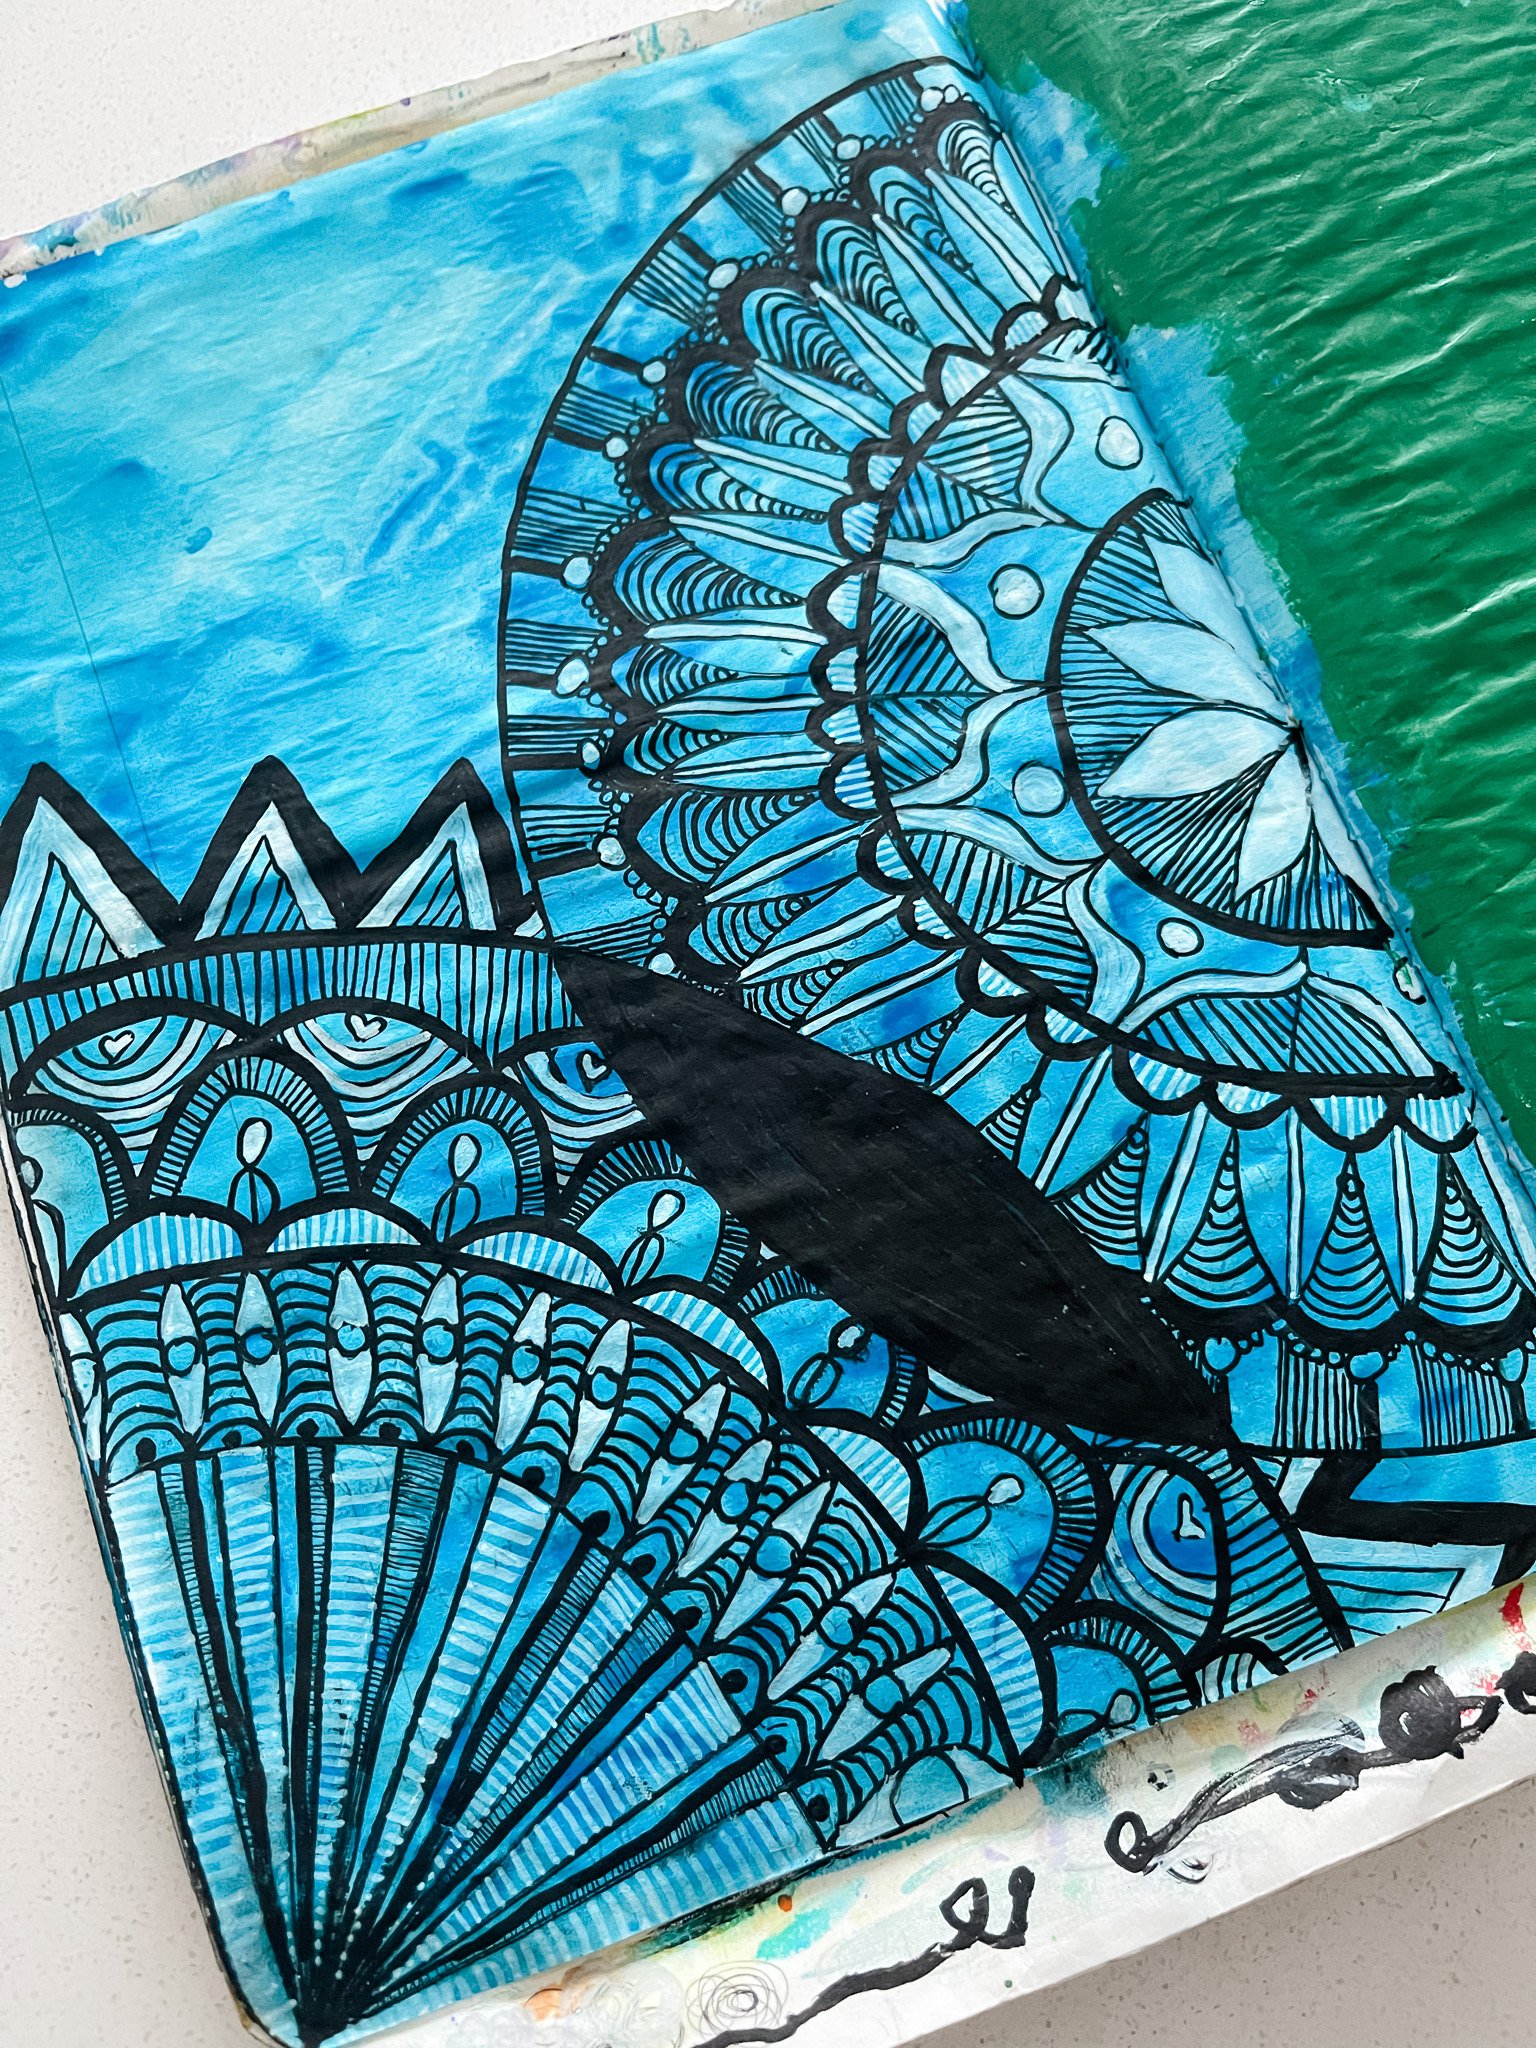
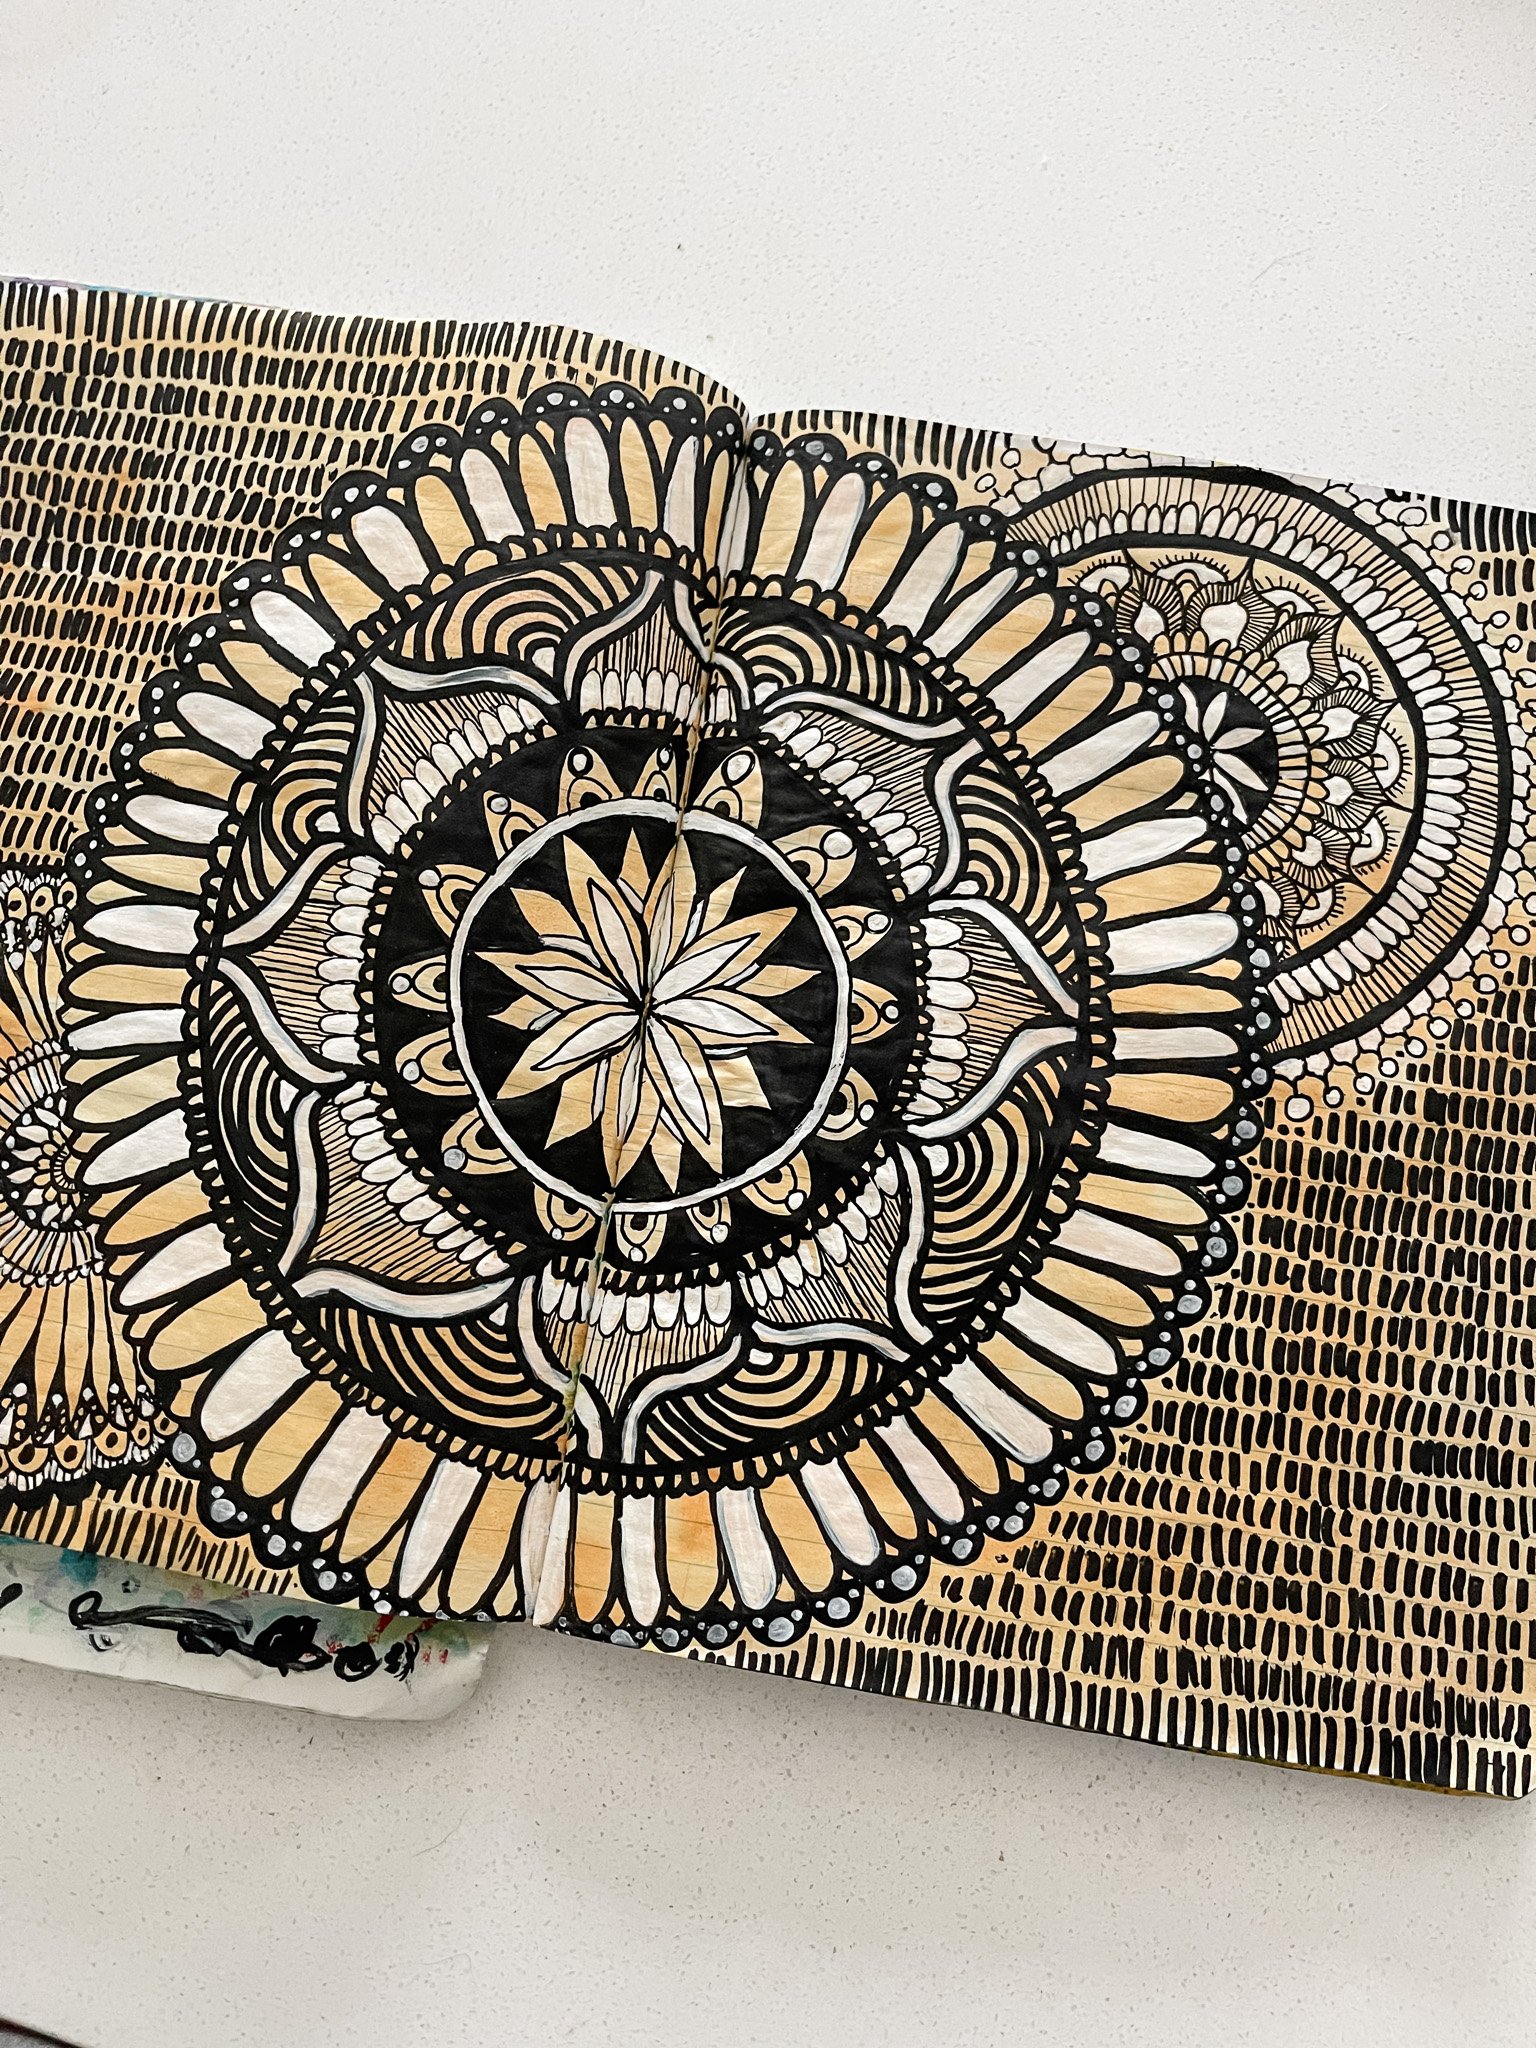
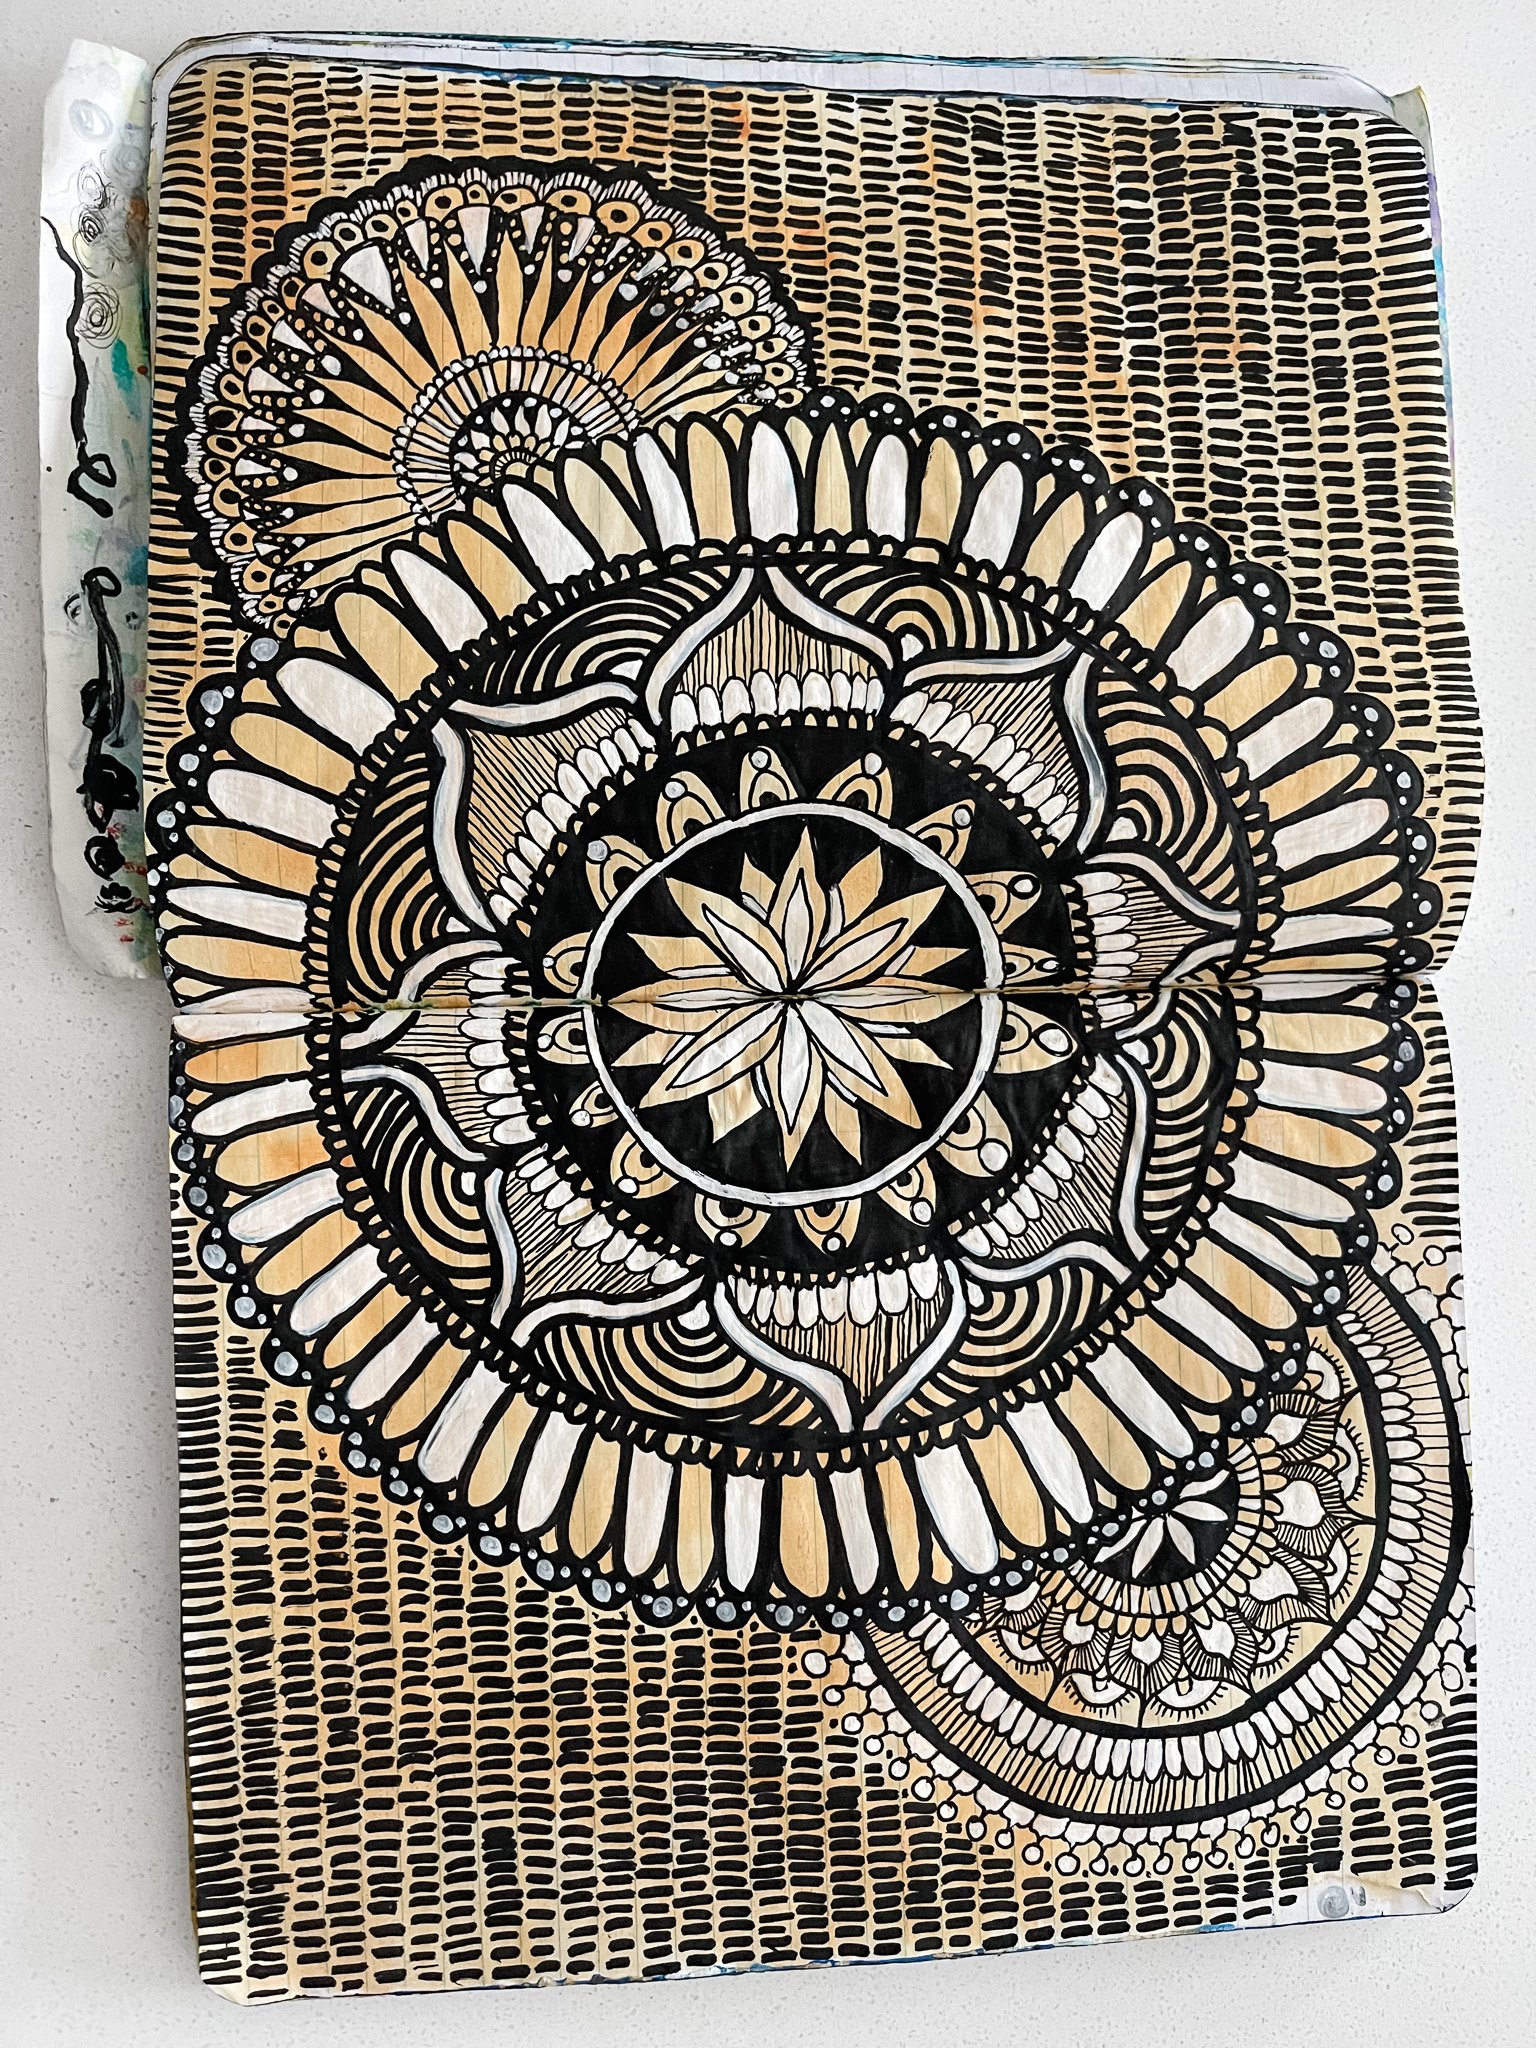
Finally: Add Details to your Mandala

You can stop there if you’d like, but if you have more time, this is one of my favorite parts. Use another marker (or a paintbrush!) to go in and add details. From here, I like to use a Posca Pen Brush to add the opposite color (black or white) to fill in some of the spaces between the spaces in your mandala. This really adds dimension to the piece, and it’s another layer, which of course, I love!

Tick marks are one of my go-to patterns to fill in extra space.
Another fun detail to add in is to fill the spaces around your mandala! Sometimes I’ll leave the space blank and go back and journal in it later, or I also like to write lyrics from songs. Other times I add other shapes and patterns like above—the tick marks, or dots, or other circles. You get it! Get creative and enjoy.